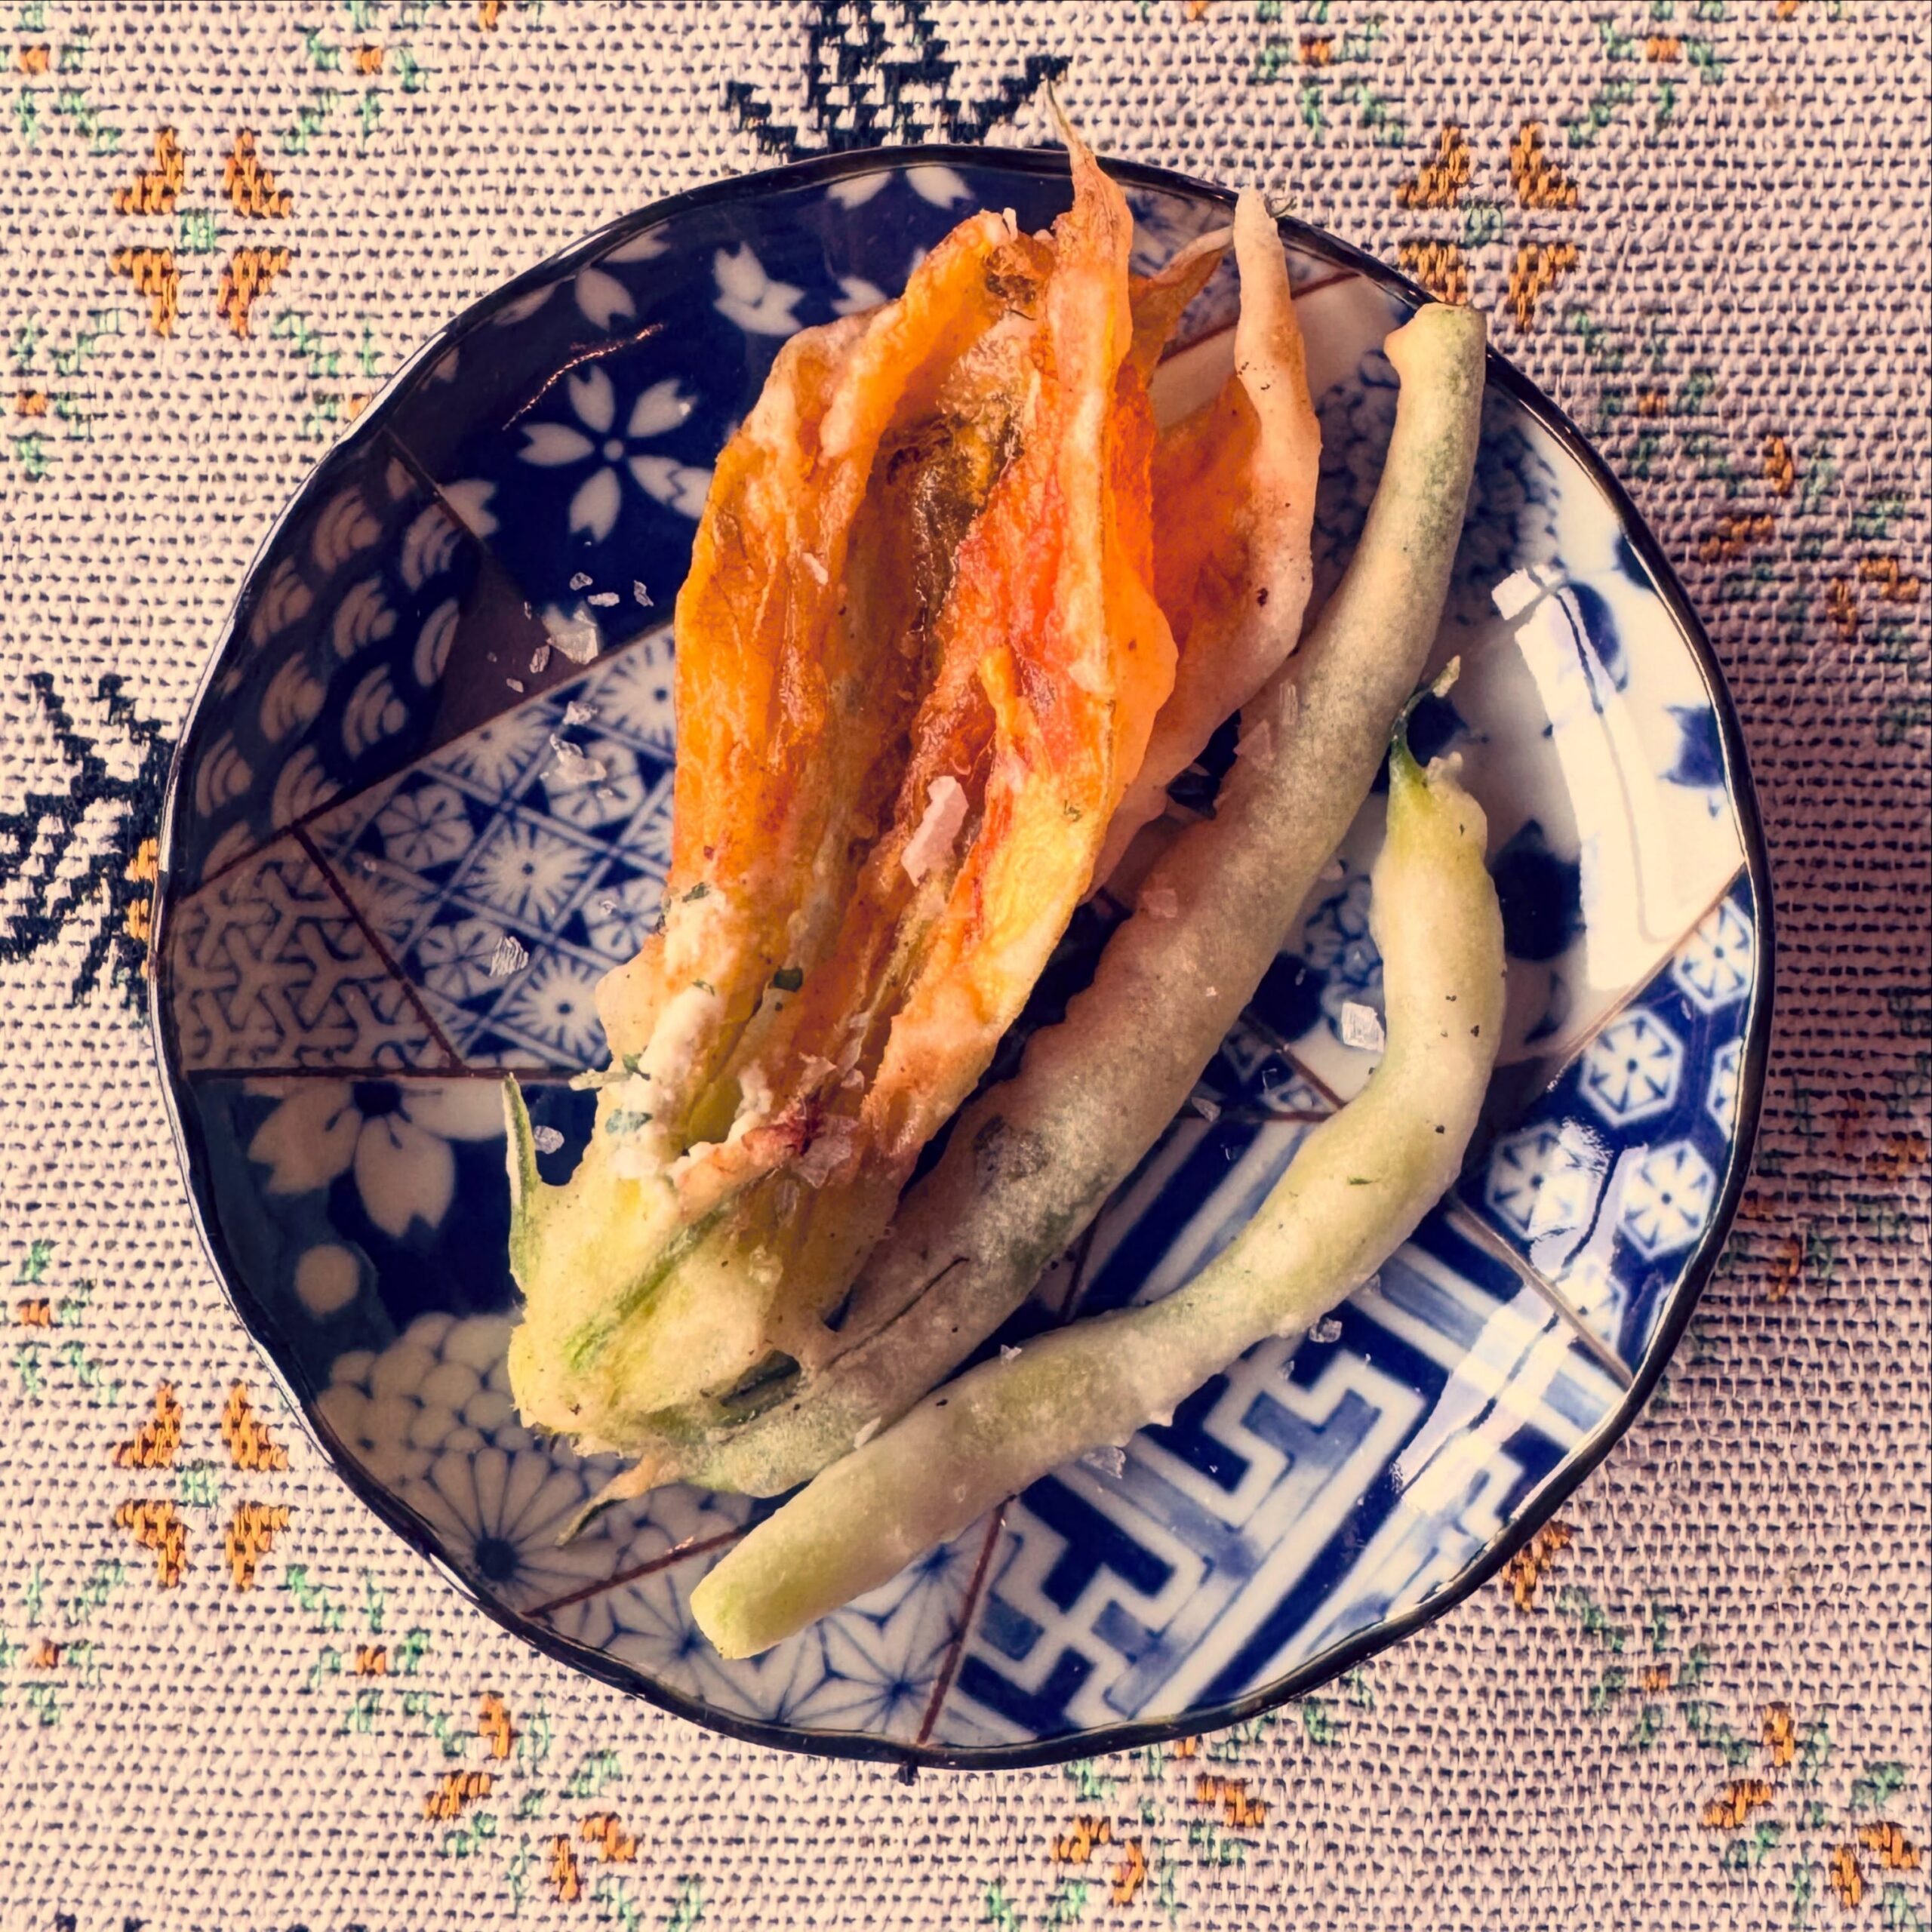
Ricotta Stuffed Squash Flowers, Tempura Fried

☀️🌱⛱️
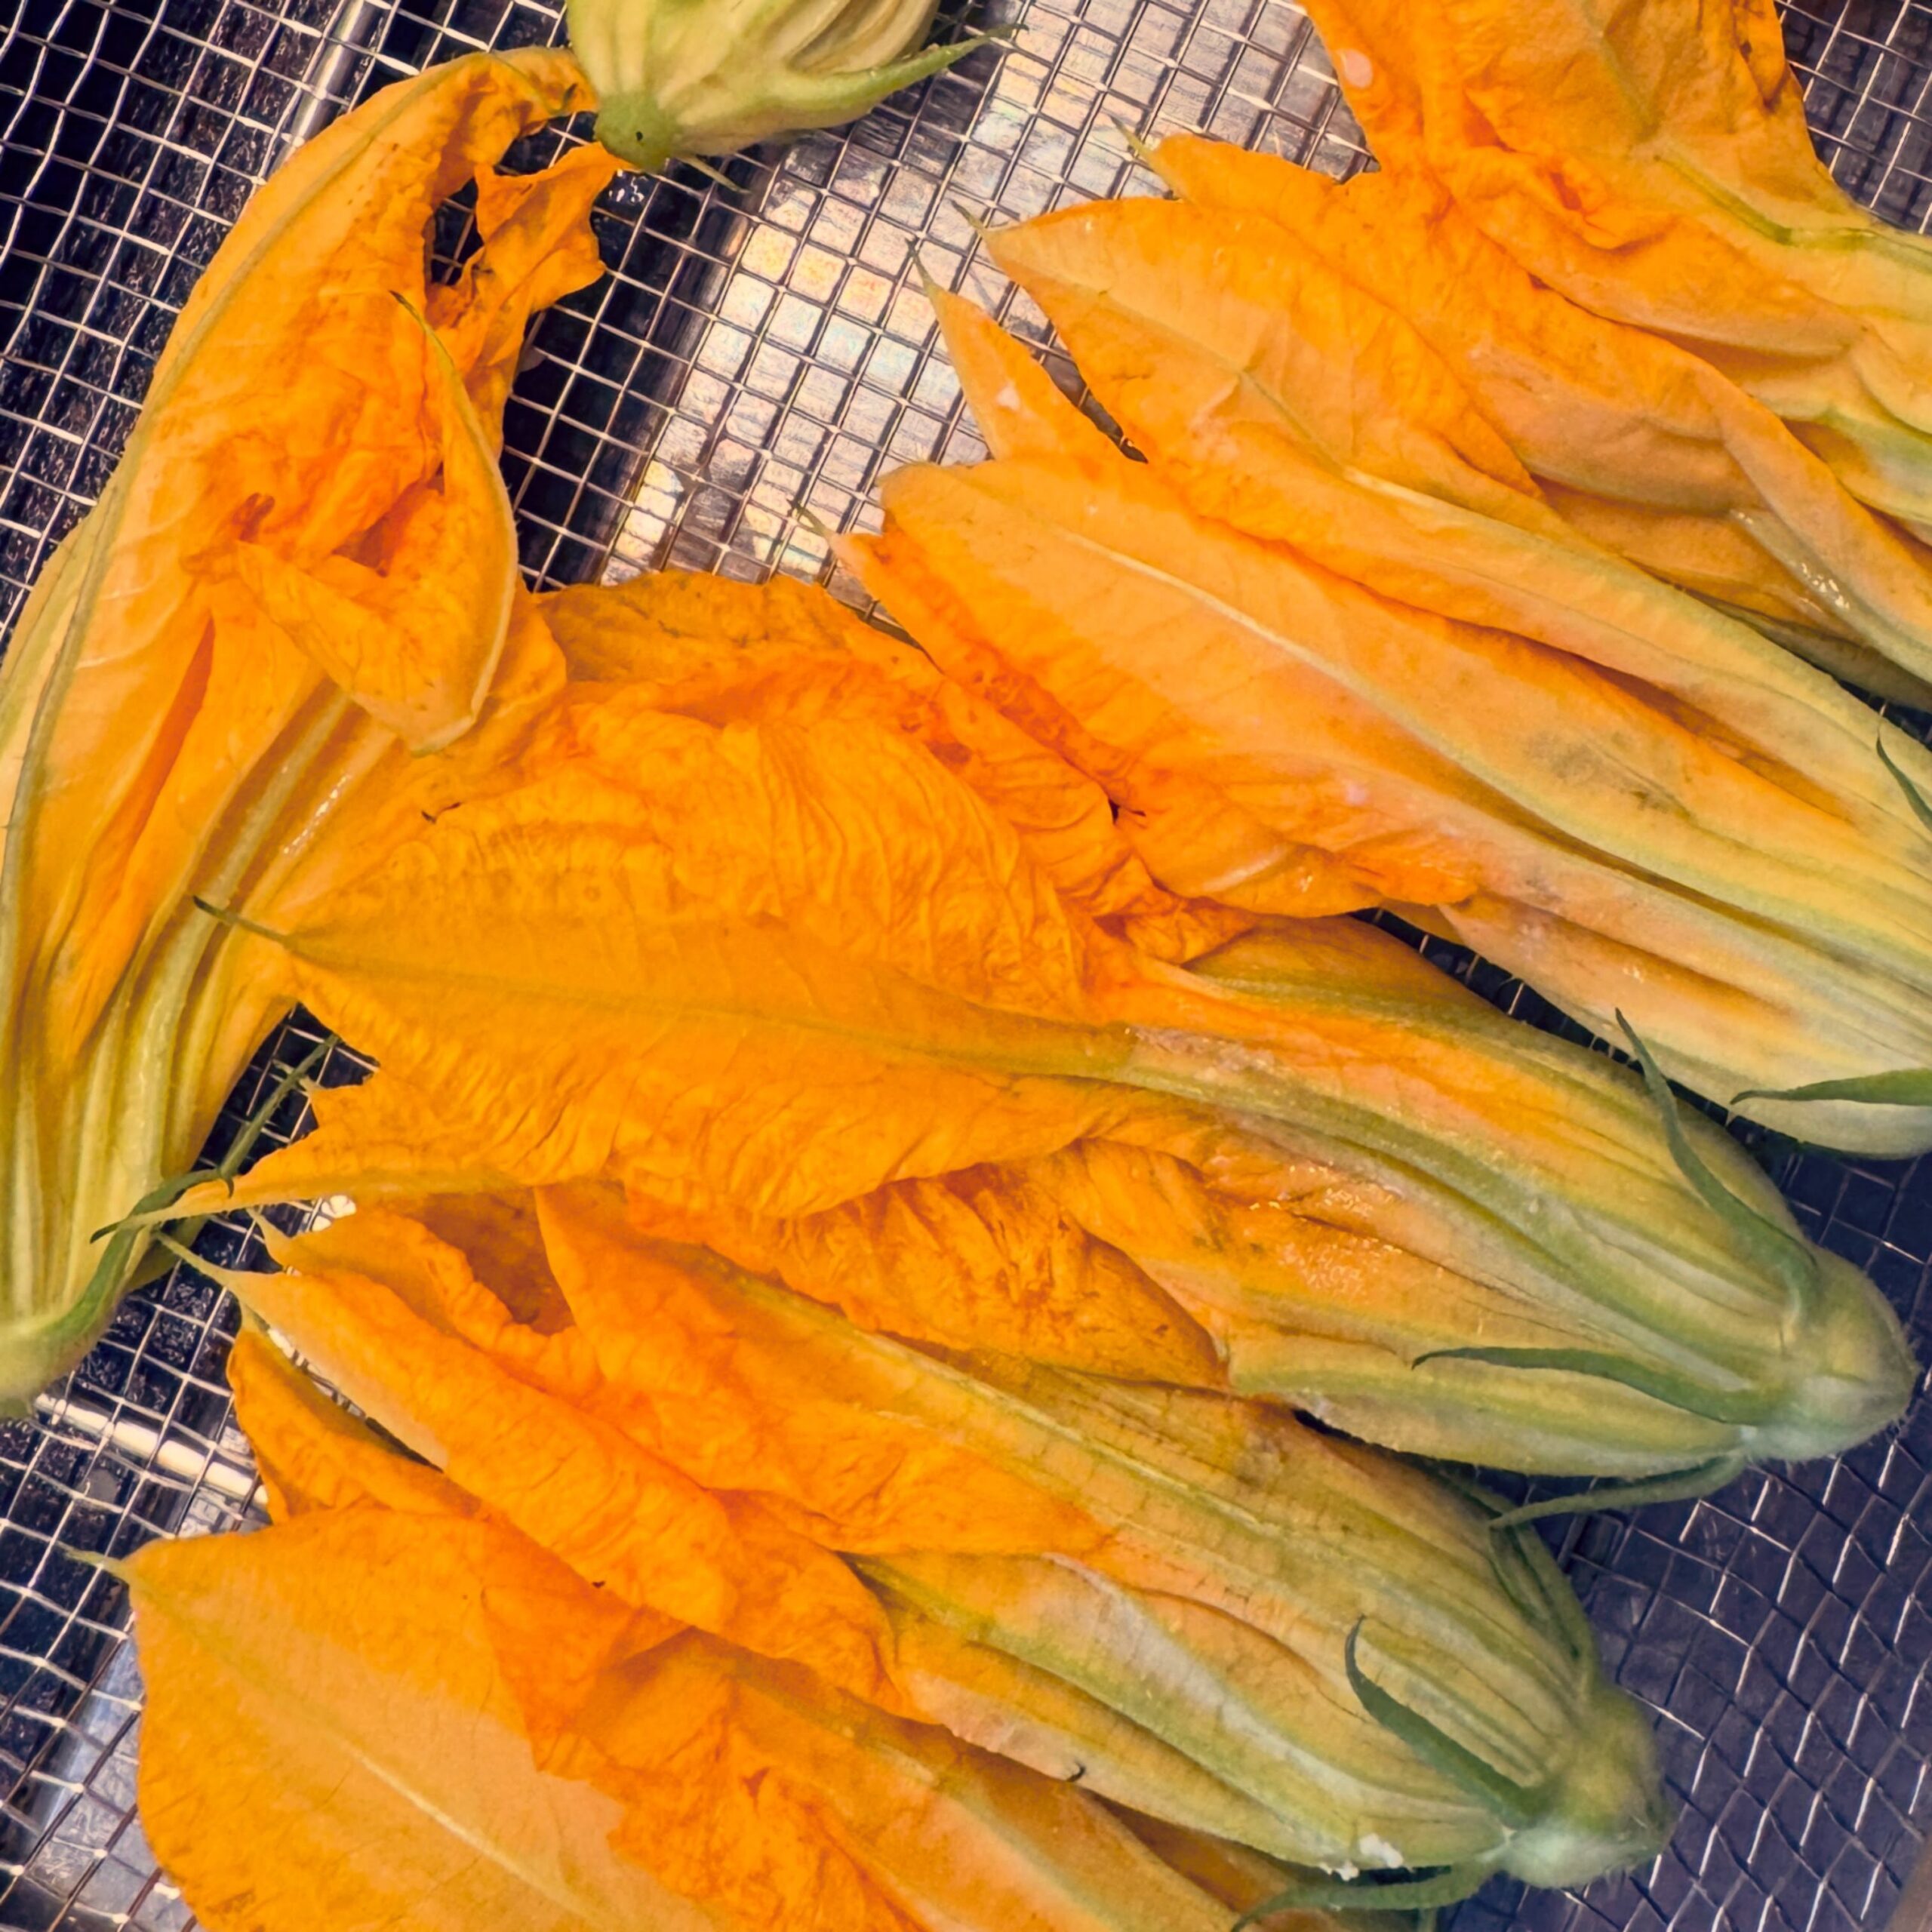
There’s a particular kind of magic in the way summer hands you something delicate and asks you to be gentle with it. Squash flowers are exactly that. They arrive soft and golden, the color of late afternoon light, and they carry the promise of a garden still busy with sun.

The idea here is simple, though it feels like a small ceremony. You take the flowers, still faintly warm from the day, and fill them with ricotta. The cheese settles in like it belongs there, cool and creamy against those bright petals. Then comes the tempura, that whisper-thin batter that fries up into something between a crackle and a sigh.

When they come out of the oil, they’re impossibly light. You bite in and the shell shatters, and underneath is the ricotta, soft and quiet, and the flower itself, tasting faintly of the vine it grew on. It’s the kind of thing you eat standing over the stove, not waiting for anyone.

Summer cooking is like this. It doesn’t ask for much. A little patience, a hot pan, and a willingness to let good ingredients be what they already are. These stuffed squash flowers are a reminder that the best dishes are often the ones that hold the season in their hands and don’t try too hard to change it.

Make them once and you’ll understand. Sunshine, a garden, a warm afternoon, all folded into a few golden bites.
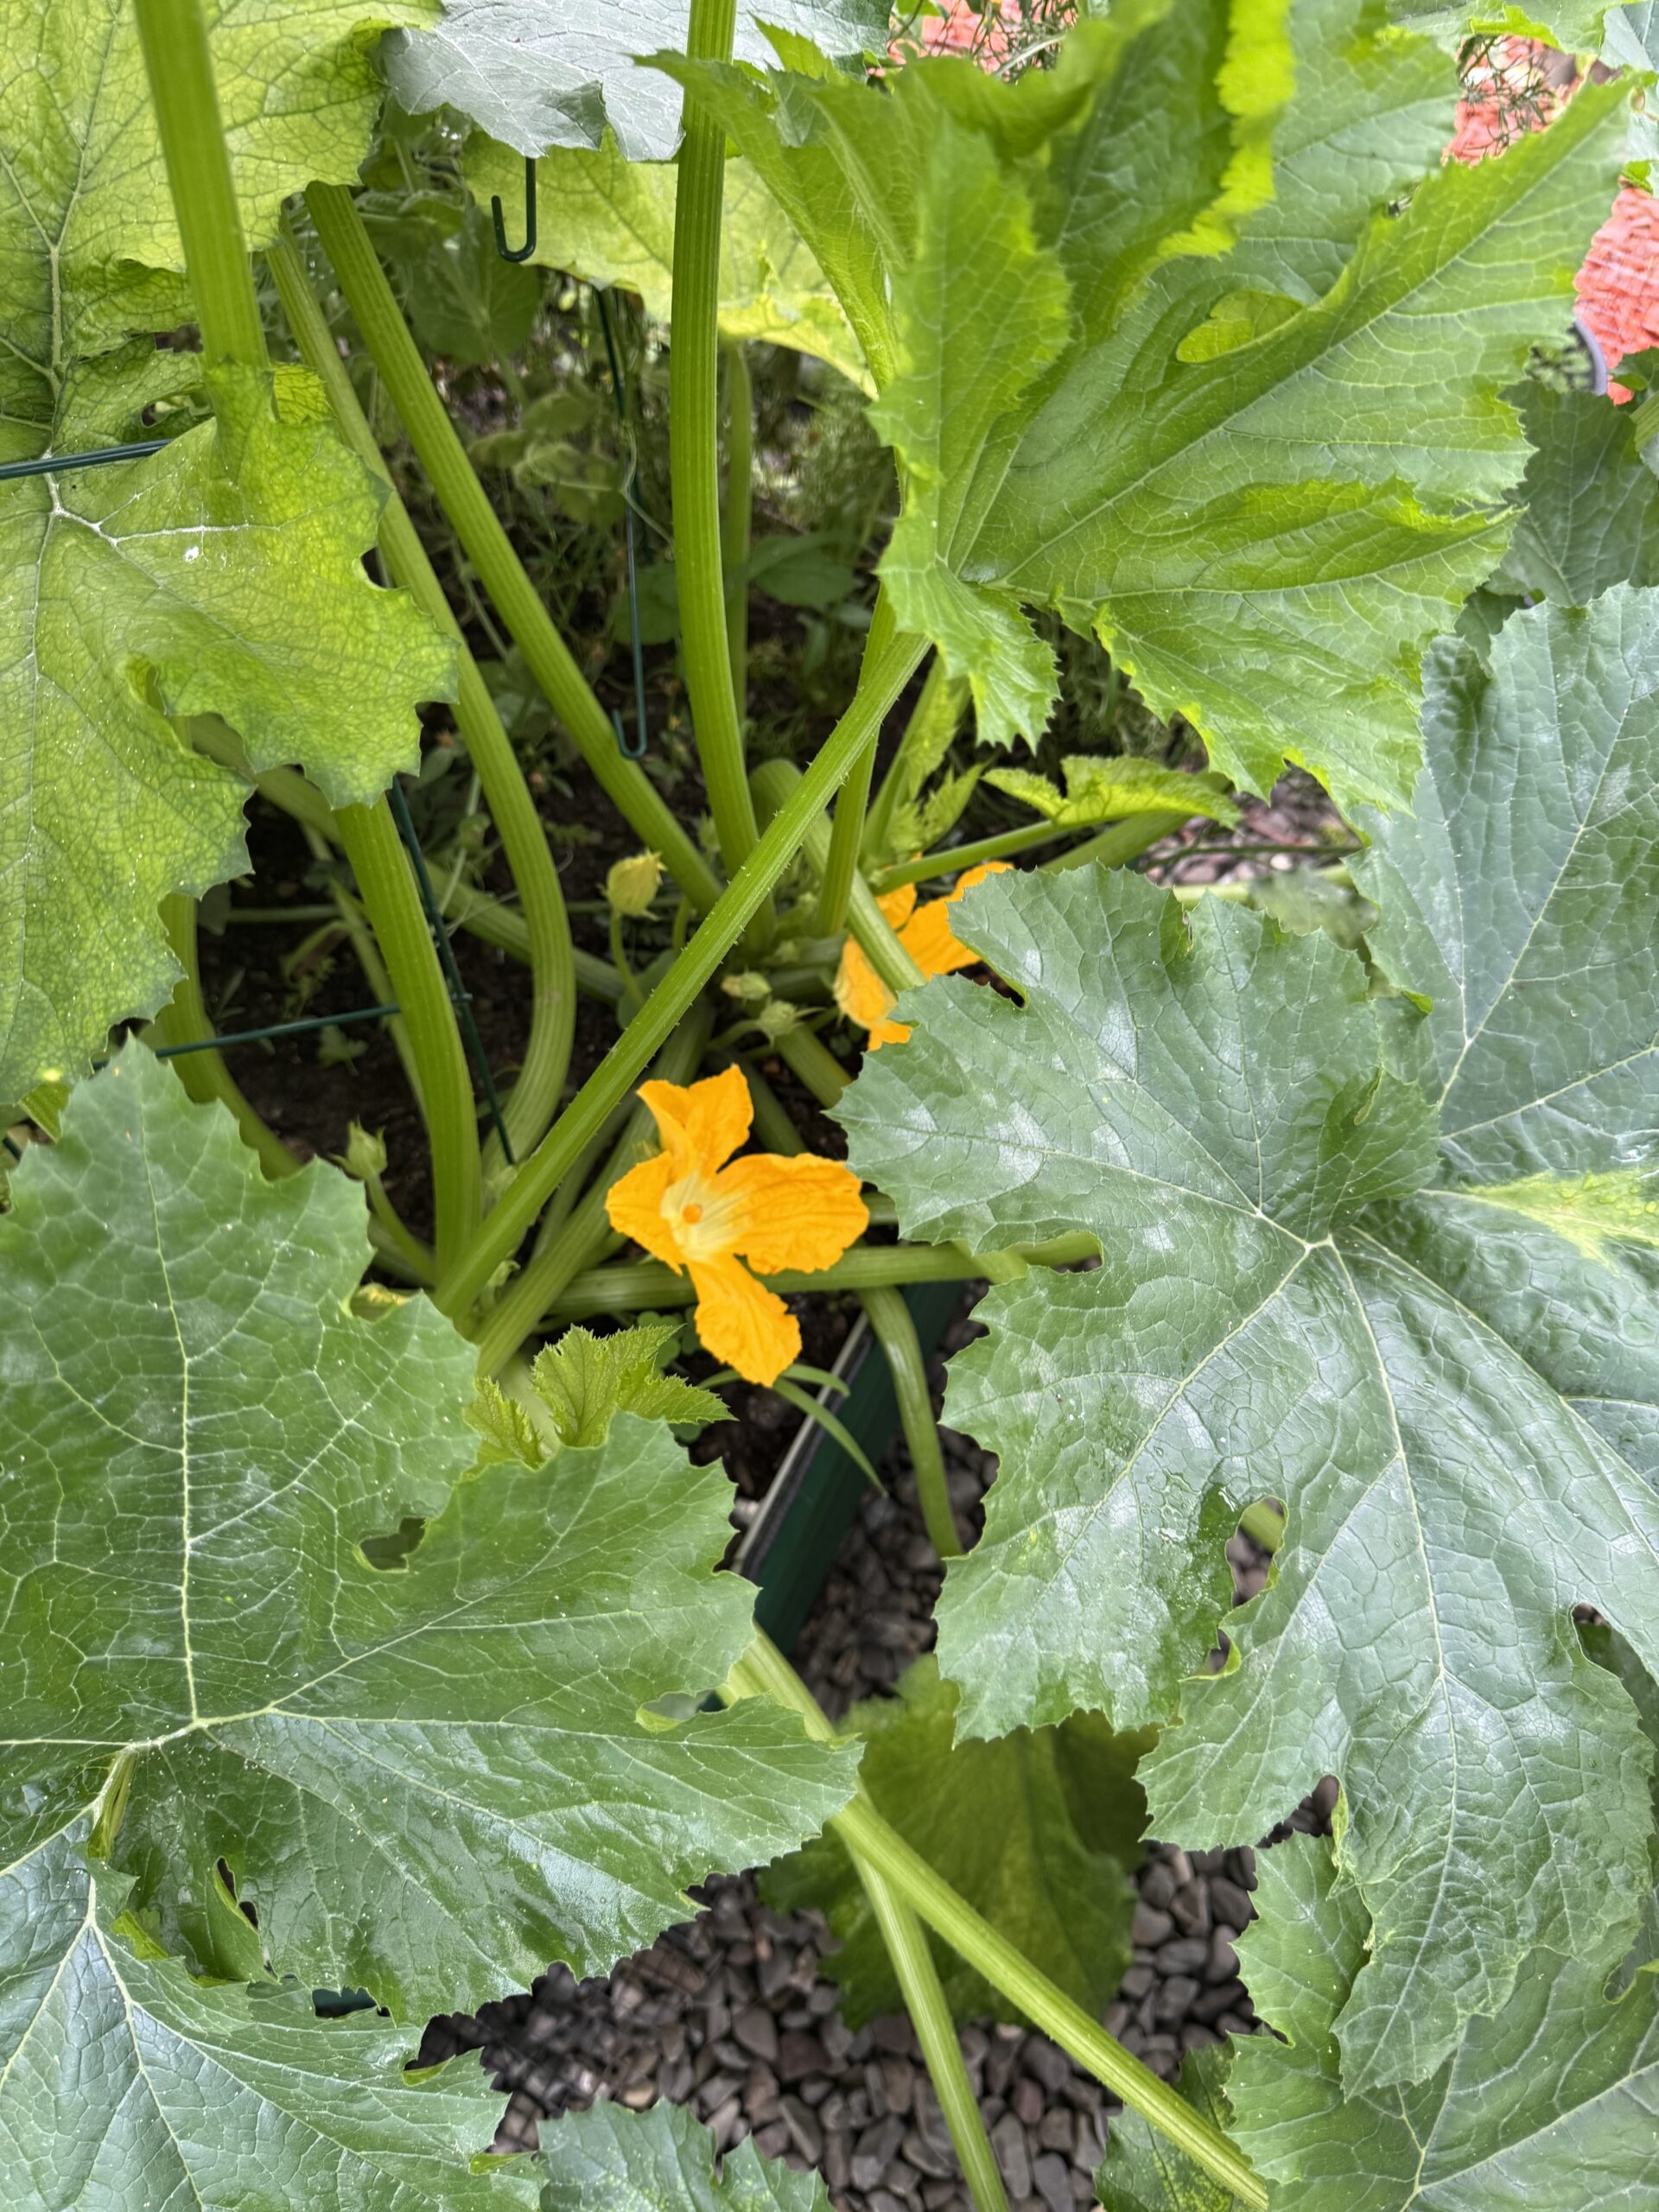
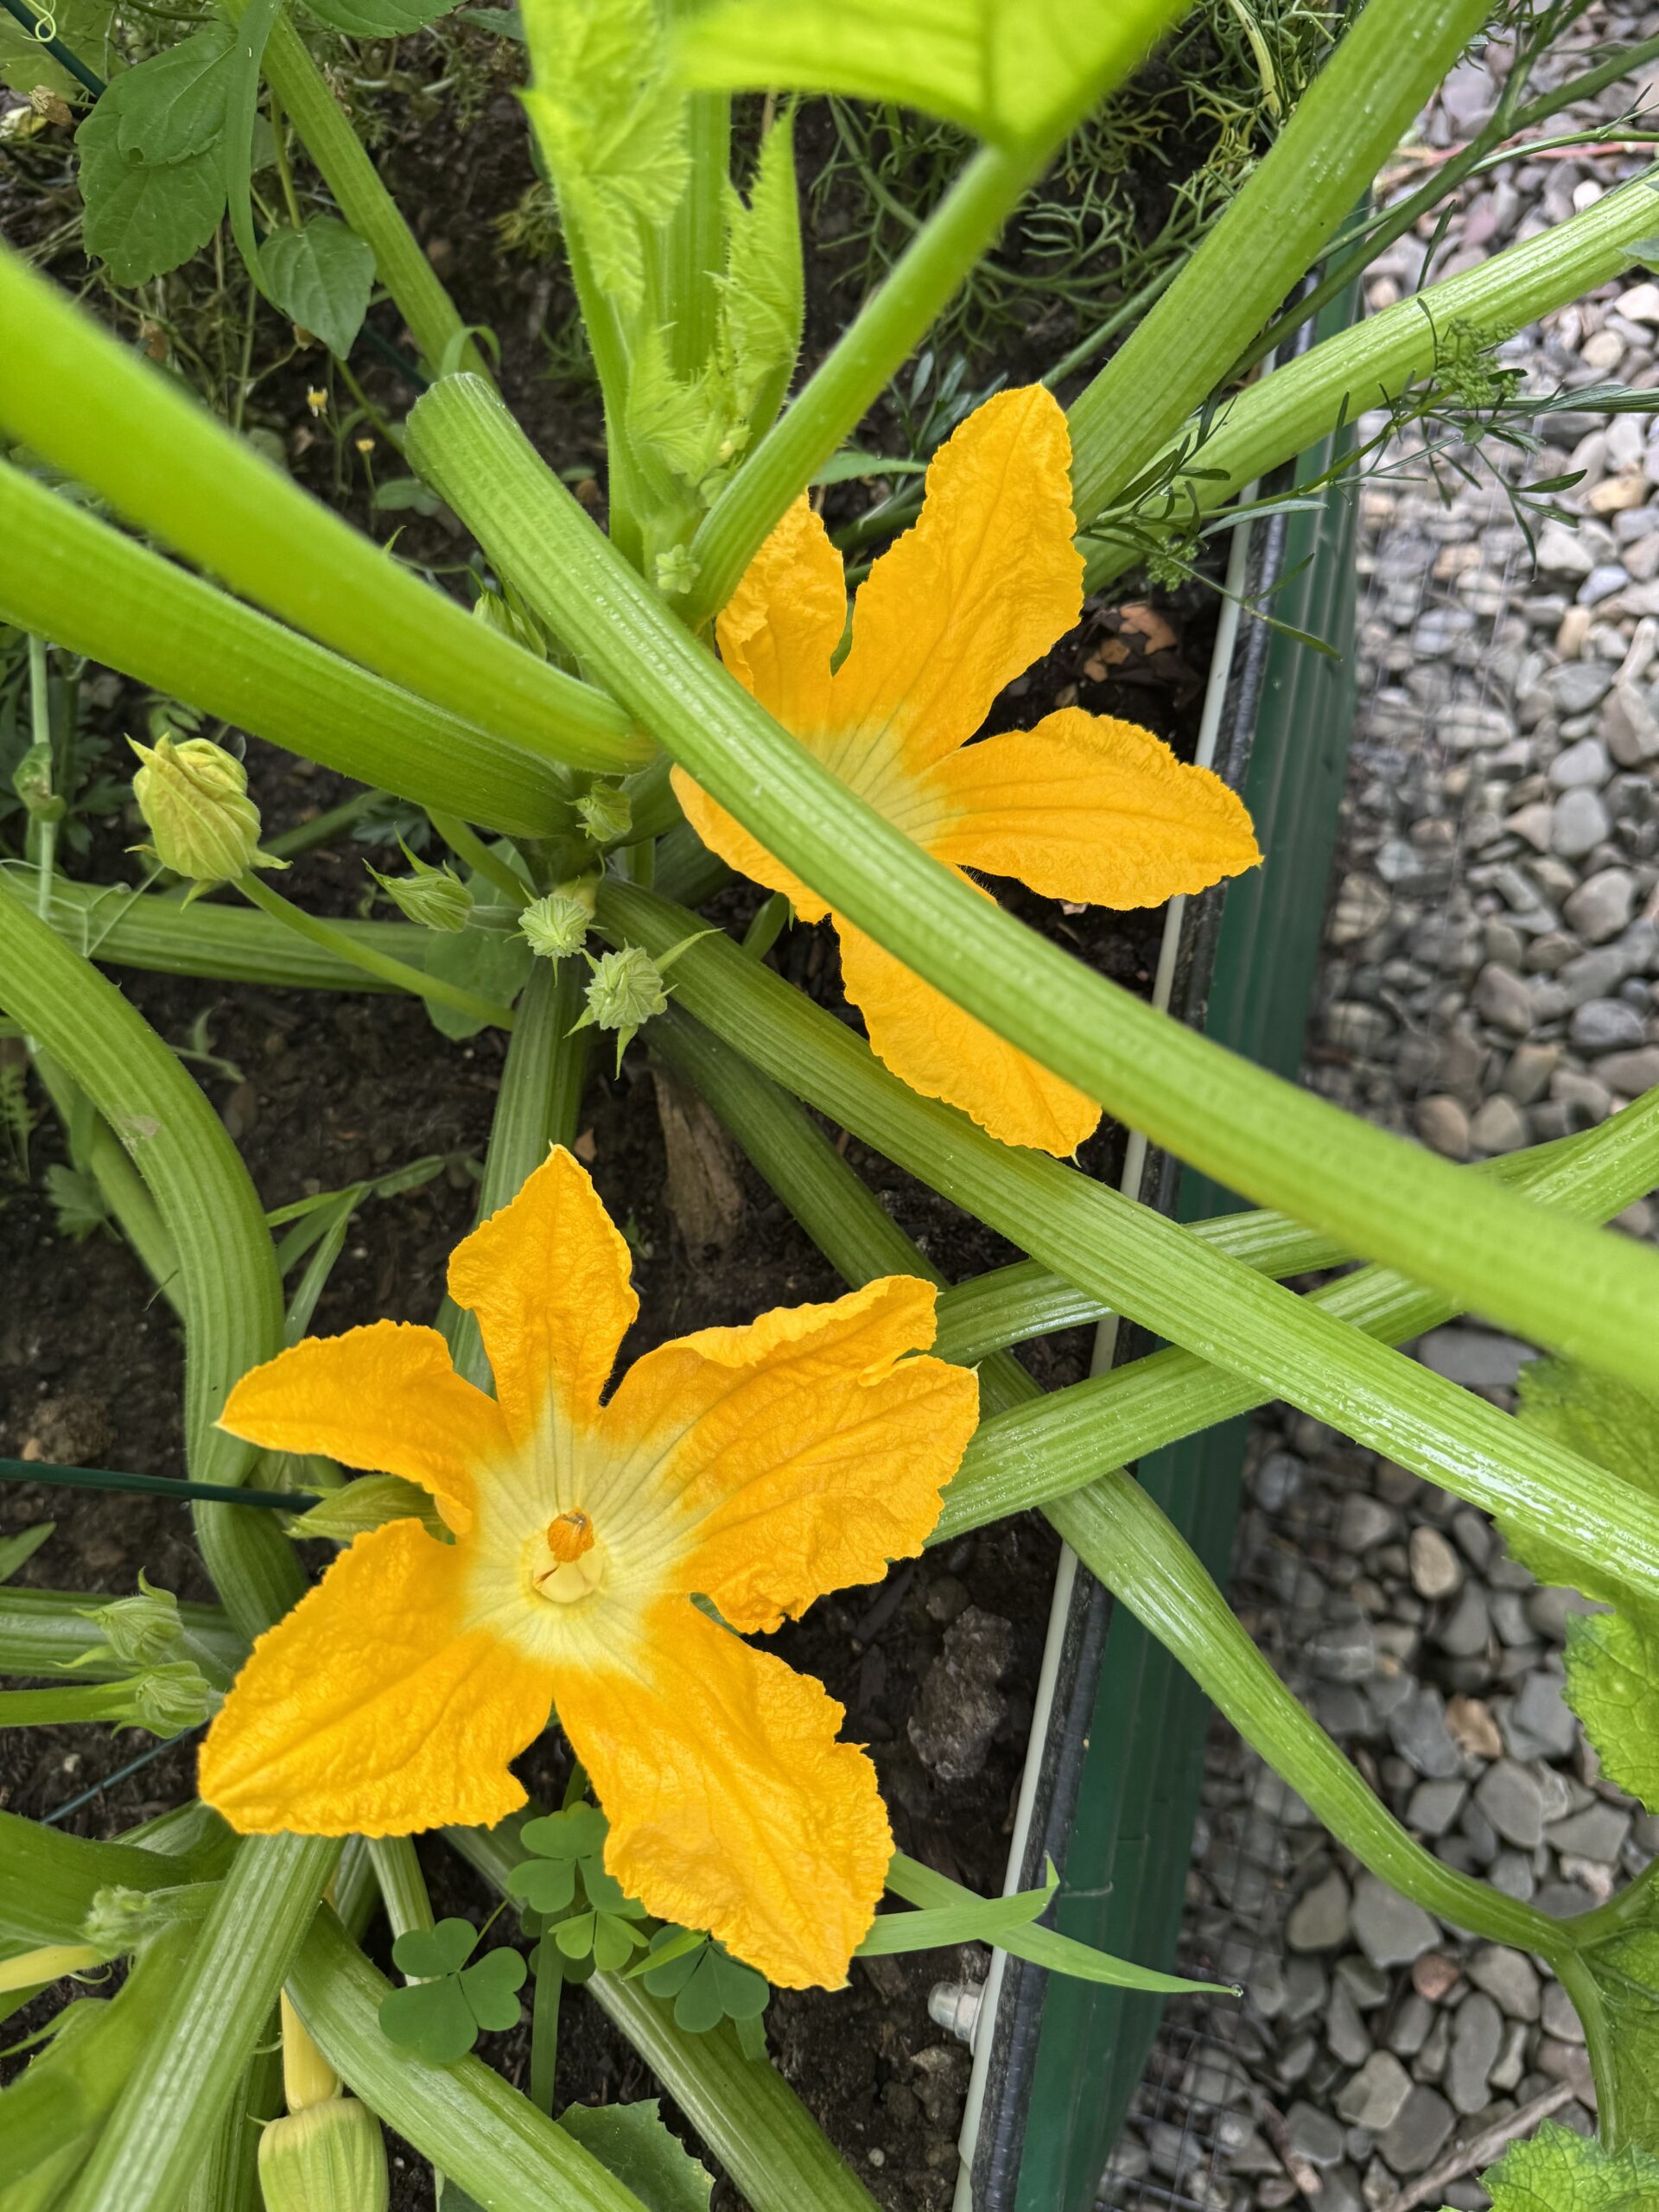
focus keywords: squash flowers,tempura fried,ricotta stuffed
tags: squash,flower,tempura

How we make them

Here’s the actual method.

First, the batter. We dropped the usual flour-and-cornstarch mix and went with rice flour only, no egg, kept ice cold. It’s just rice flour and enough cold club soda (or beer, if you want that flavor) to make a slurry that’s thick but still loose enough to coat. Dust the flowers in dry rice flour first, dip them in the slurry, and straight into the hot oil. That’s the whole batter station. The dusting gives the slurry something to grab, and the rice flour is what fries into that thin, glassy shell instead of a heavy crust.

Second, the filling. Ours is ricotta with fresh mint and basil, and a spoon of honey to sweeten it. We used a raw goldenrod honey from Bright Raven Farm & Apiary, just up the road in the Finger Lakes, sold at their Honeybee Embassy. Goldenrod honey crystallizes fast, so it comes thick and a little pasty, and that’s exactly what you want here. It sweetens the ricotta without turning it into soup. Use whatever good local honey you can find, and if yours is loose and runny, use a little less so the filling stays dry enough to hold.

Everything else is fast. The flowers come from the garden, the frying takes about a minute a batch, and you’re eating them warm before the plate ever makes it to the table.

Ricotta Stuffed Squash Flowers, Tempura Fried

Squash flowers stuffed with ricotta, mint, and basil, sweetened with local goldenrod honey, and fried in a light rice-flour tempura slurry.

Prep: 15 min  |  Cook: 15 min  |  Total: 30 min  |  Serves: 6

Ingredients

Filling

  • 10 to 12 squash flowers
  • 1/2 cup ricotta
  • 1 tablespoon fresh mint, finely chopped
  • 1 tablespoon fresh basil, finely chopped
  • 1 tablespoon thick raw goldenrod honey (we used Bright Raven Farm’s)
  • Salt and pepper to taste

Tempura batter

  • 1 cup rice flour, plus a little extra for dusting
  • About 3/4 cup ice-cold club soda or beer, enough for a thick but pourable slurry
  • Pinch of salt
  • tip: keep the batter sitting on top of icy water to keep it cool

For frying

  • 2 cups neutral oil (vegetable or peanut)
  • OR in a deep frying pan where the oil is 1.5 to 2 inches deep so the flowers can float without touching the bottom.

Instructions

  1. Prep the flowers. Brush off any dirt. If you rinsed them, dry them well. Trim the stem to about half an inch and pinch out the stamen inside if it’s large.
  2. Make the filling. Stir together the ricotta, mint, basil, honey, and a little salt and pepper. Keep it thick. The honey should sweeten it without loosening it, so if yours is runny, use less.
  3. Stuff gently. Spoon or pipe about a teaspoon of filling into each flower. Don’t overfill or they’ll split in the oil. Twist the petal tips to close.
  4. Heat the oil to 350°F.
  5. Make the slurry last. Right before frying, stir the rice flour, a pinch of salt, and enough ice-cold club soda (or beer) together until it’s thick but still pourable, loose enough to coat. Keep it cold and don’t overwork it.
  6. Dust and dip. Lightly dust each stuffed flower in dry rice flour, then dip it in the slurry to coat.
  7. Fry a few at a time for about a minute, until pale gold and crisp. They cook fast, so don’t walk away.
  8. Drain and serve. Drain on paper towels, season with a pinch of salt, and eat warm.

I’ll Have My Pizza May-Bay Style

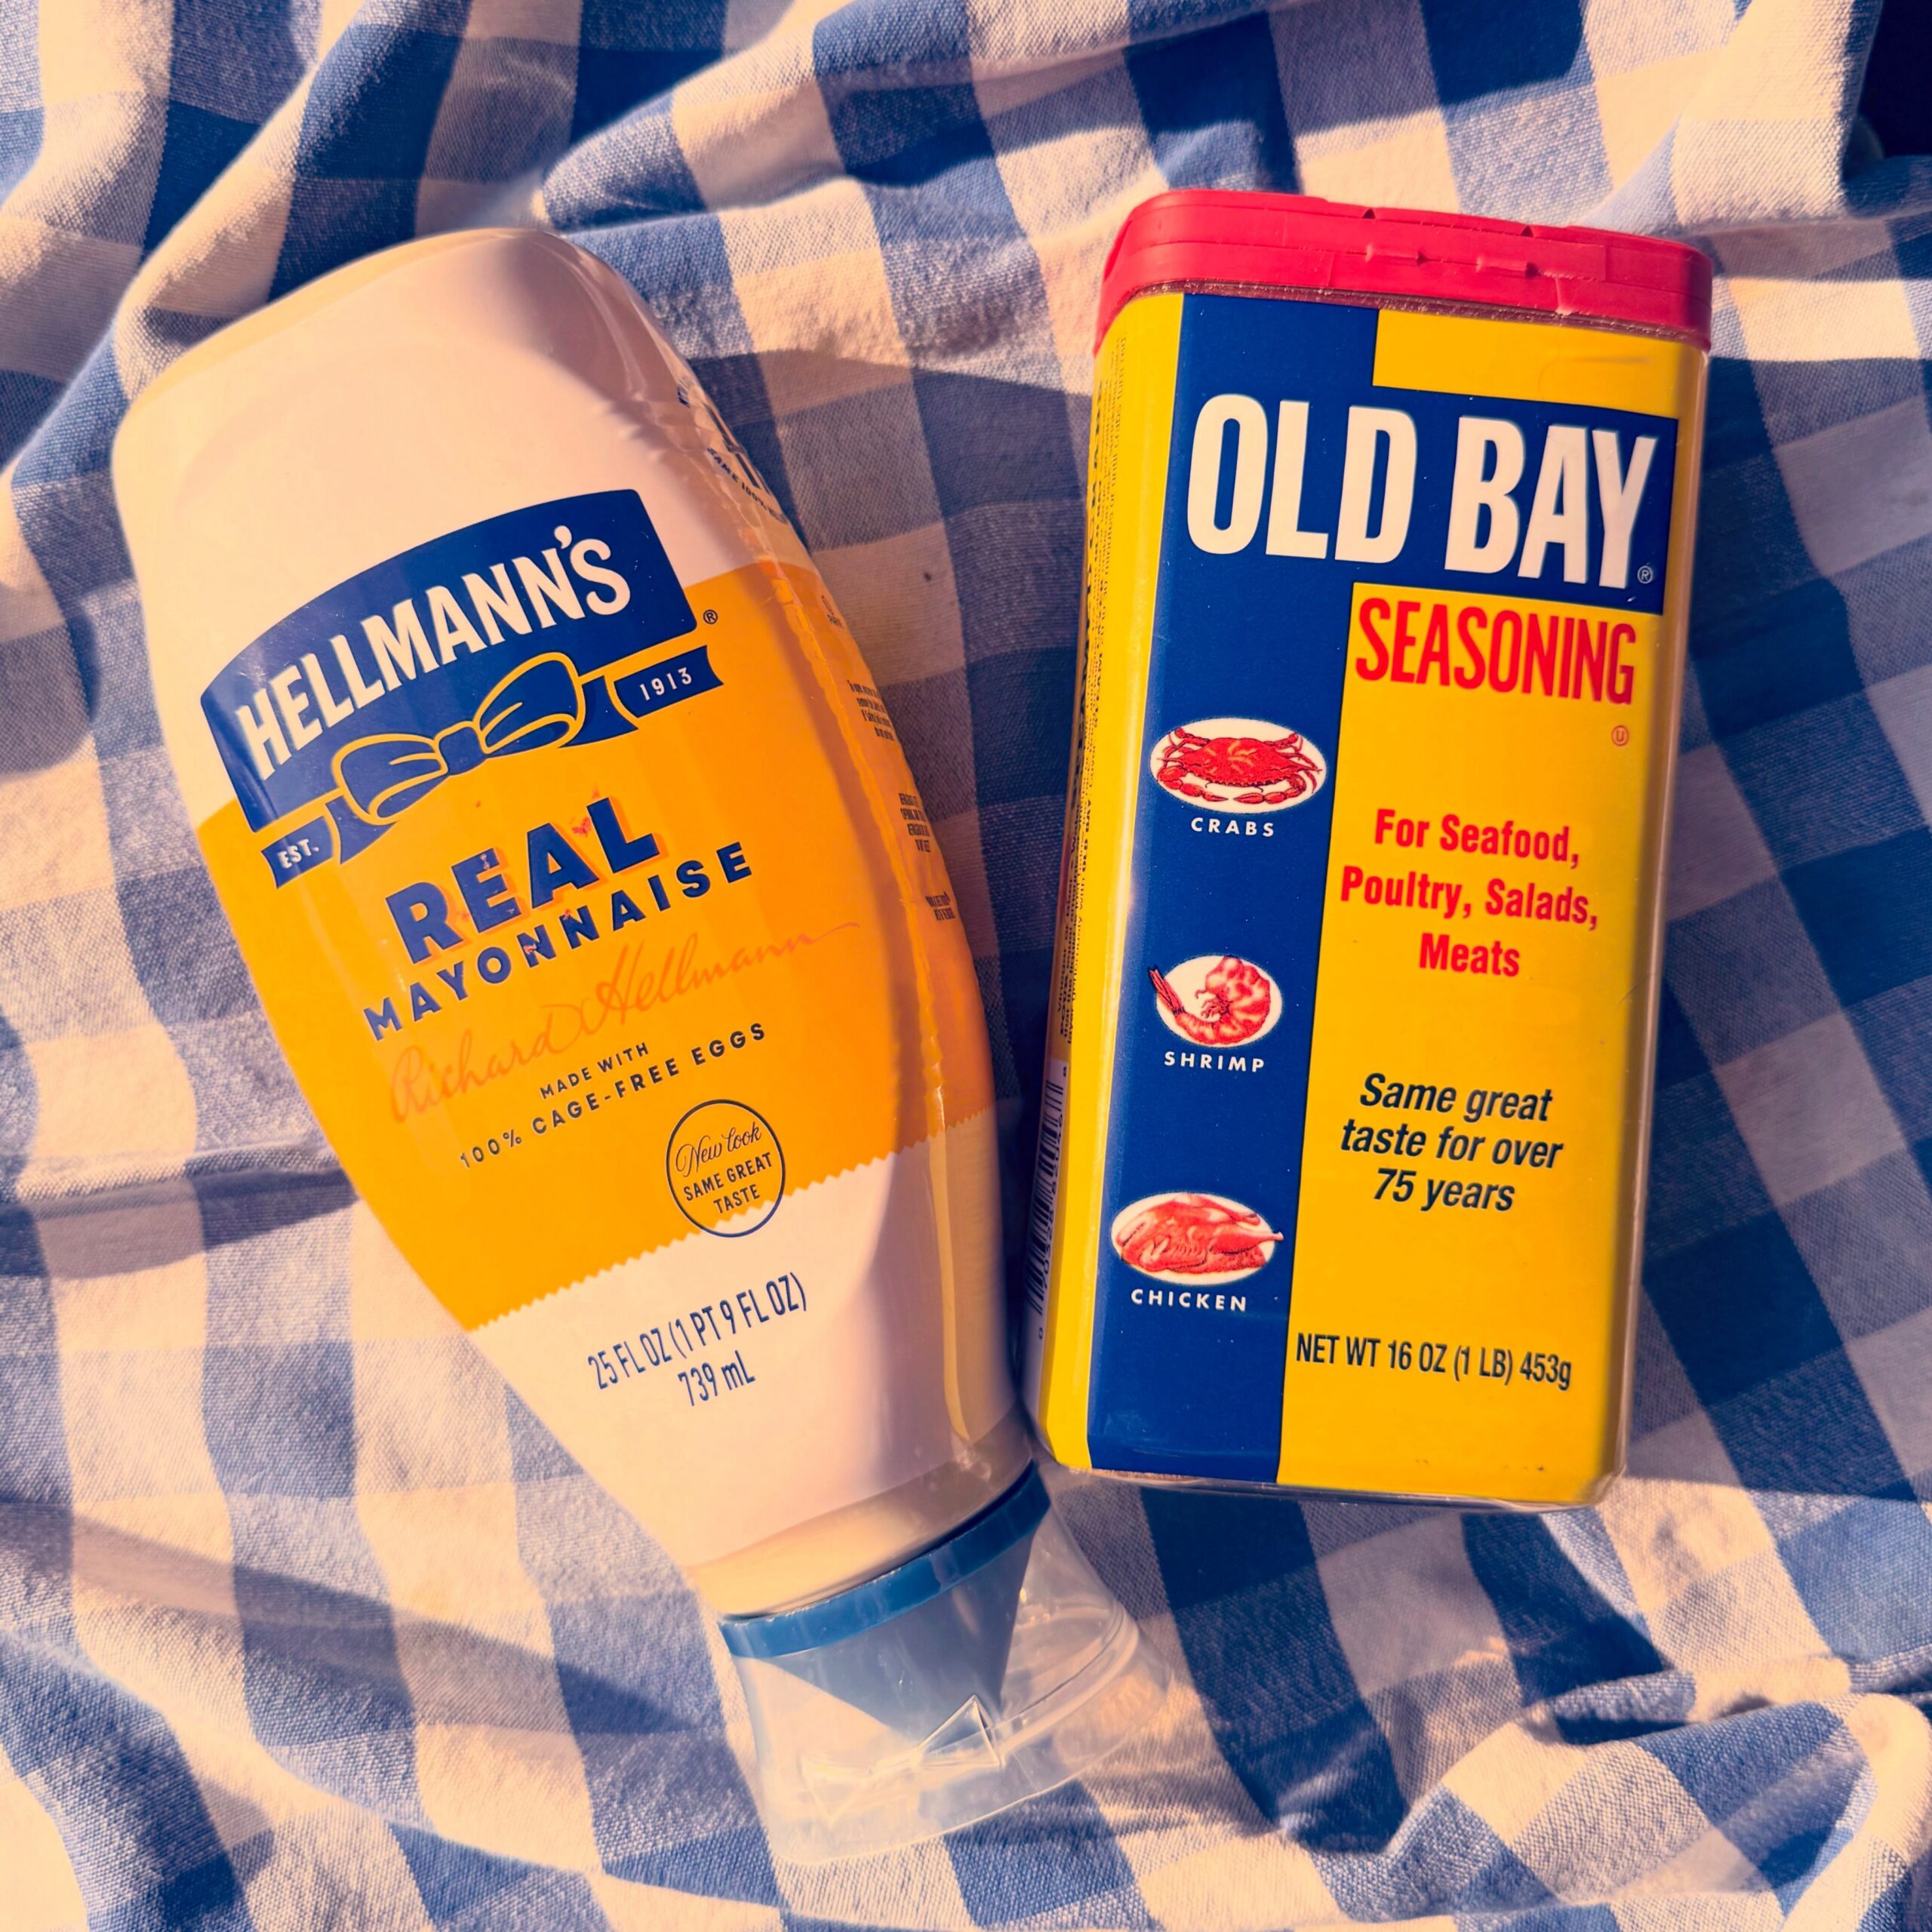
I like a plain slice. Always have. But somewhere along the way I started wanting it to taste a little more like me — and the two things I reach for more than anything else in my kitchen are mayo and Old Bay.

So one day I put them on the pizza. Together. 🍕🦀🥚

I call it May Bay, and it’s less a recipe than a habit I’ve stopped apologizing for. You take a plain cheese slice — hot, fresh, nothing fancy — drizzle mayo across the top, and dust it with Old Bay until it looks right to you. The mayo adds a creamy richness the slice didn’t know it was missing, and the Old Bay brings that salty, celery-and-paprika bite that makes everything it touches taste a little like summer near the water.

It sounds like it shouldn’t work. It does. That gap between “shouldn’t” and “does” is where most of my favorite food lives.

The May Bay “Recipe”

Ingredients (yes, all two of them):

  • Mayonnaise
  • Old Bay seasoning

Instructions:

  1. Start with a plain cheese pizza slice, hot out of the oven.
  2. Drizzle mayo across the top in thin lines.
  3. Dust with Old Bay to taste. Start light — you can always add more.
  4. Eat immediately. Repeat as needed.

That’s it. No crab, no tricks, no special equipment. Just a plain slice with a little extra pizzazz, exactly the way I like it. If you try it, I’d love to hear whether it converts you — and if it doesn’t, more Old Bay for me.

A “Basic-B Cosmo” Cocktail

As the weekend gently unfolds, the spirit of relaxation takes center stage with a perfectly crafted “Basic-B Cosmo” Cocktail. This vibrant concoction, nestled elegantly in its glass, embodies the epitome of weekend indulgence—echoing the simplicity and joy found in the small moments that bring us peace.

The mellow pink hue of the Cosmo, reminiscent of a serene sunset after a busy week, speaks to the heart. It’s more than just a drink; it’s a pause button on the rapid pace of life, an invitation to unwind and savor the present. The delicate blend, punctuated by the subtle zest of citrus, is designed to make every sip an experience—a tranquil journey into leisure.

As I sip leisurely, the crispness and tang converge, creating a tactile symphony that dances playfully on the palate. It’s a celebration of the weekend’s promise: time to rediscover oneself, to embrace stillness, and to refresh the soul in the company of familiar joys. There’s something inherently comforting about this ritual; it reverberates a long-held tradition of finding solace in simplicity, a legacy of relaxation that connects the past with the present.

Surrounded by a sense of ease, the world seems to fade, leaving behind only a gentle hum

Cosmopolitan Cocktail Recipe

This classic Cosmopolitan cocktail recipe is a vibrant and zesty drink perfect for any celebration or casual gathering. With a balance of tangy cranberry juice, zesty lime, and a hint of sweetness, this pink-hued cocktail is as delightful to drink as it is to look at.

Ingredients

  • 2 oz (45 ml) vodka (e.g., be basic with Skyy)
  • 1 oz (30 ml) triple sec (e.g., Cointreau)
  • 0.5 oz (15 ml) freshly squeezed lime juice
  • 1 oz (30 ml) cranberry juice (use less if organic – trust me)
  • Lemon twist (for garnish)

Instructions

  1. Chill Your Glass – Place a martini glass in the freezer or fill it with ice water to chill.
  2. Combine Ingredients – In a cocktail glass filled with ice, add vodka, triple sec, lime juice, and cranberry juice.
  3. Stir – No one wants a watered down drink – stir until the glass starts to frost
  4. Strain – Discard the ice or water in your martini glass, and strain the cocktail mixture into the glass.
  5. Garnish – Add along lemon twist for a finishing touch.
  6. Serve – Enjoy your perfectly crafted Cosmopolitan cocktail immediately!

Making ginger chicken gyoza for New Year’s Day


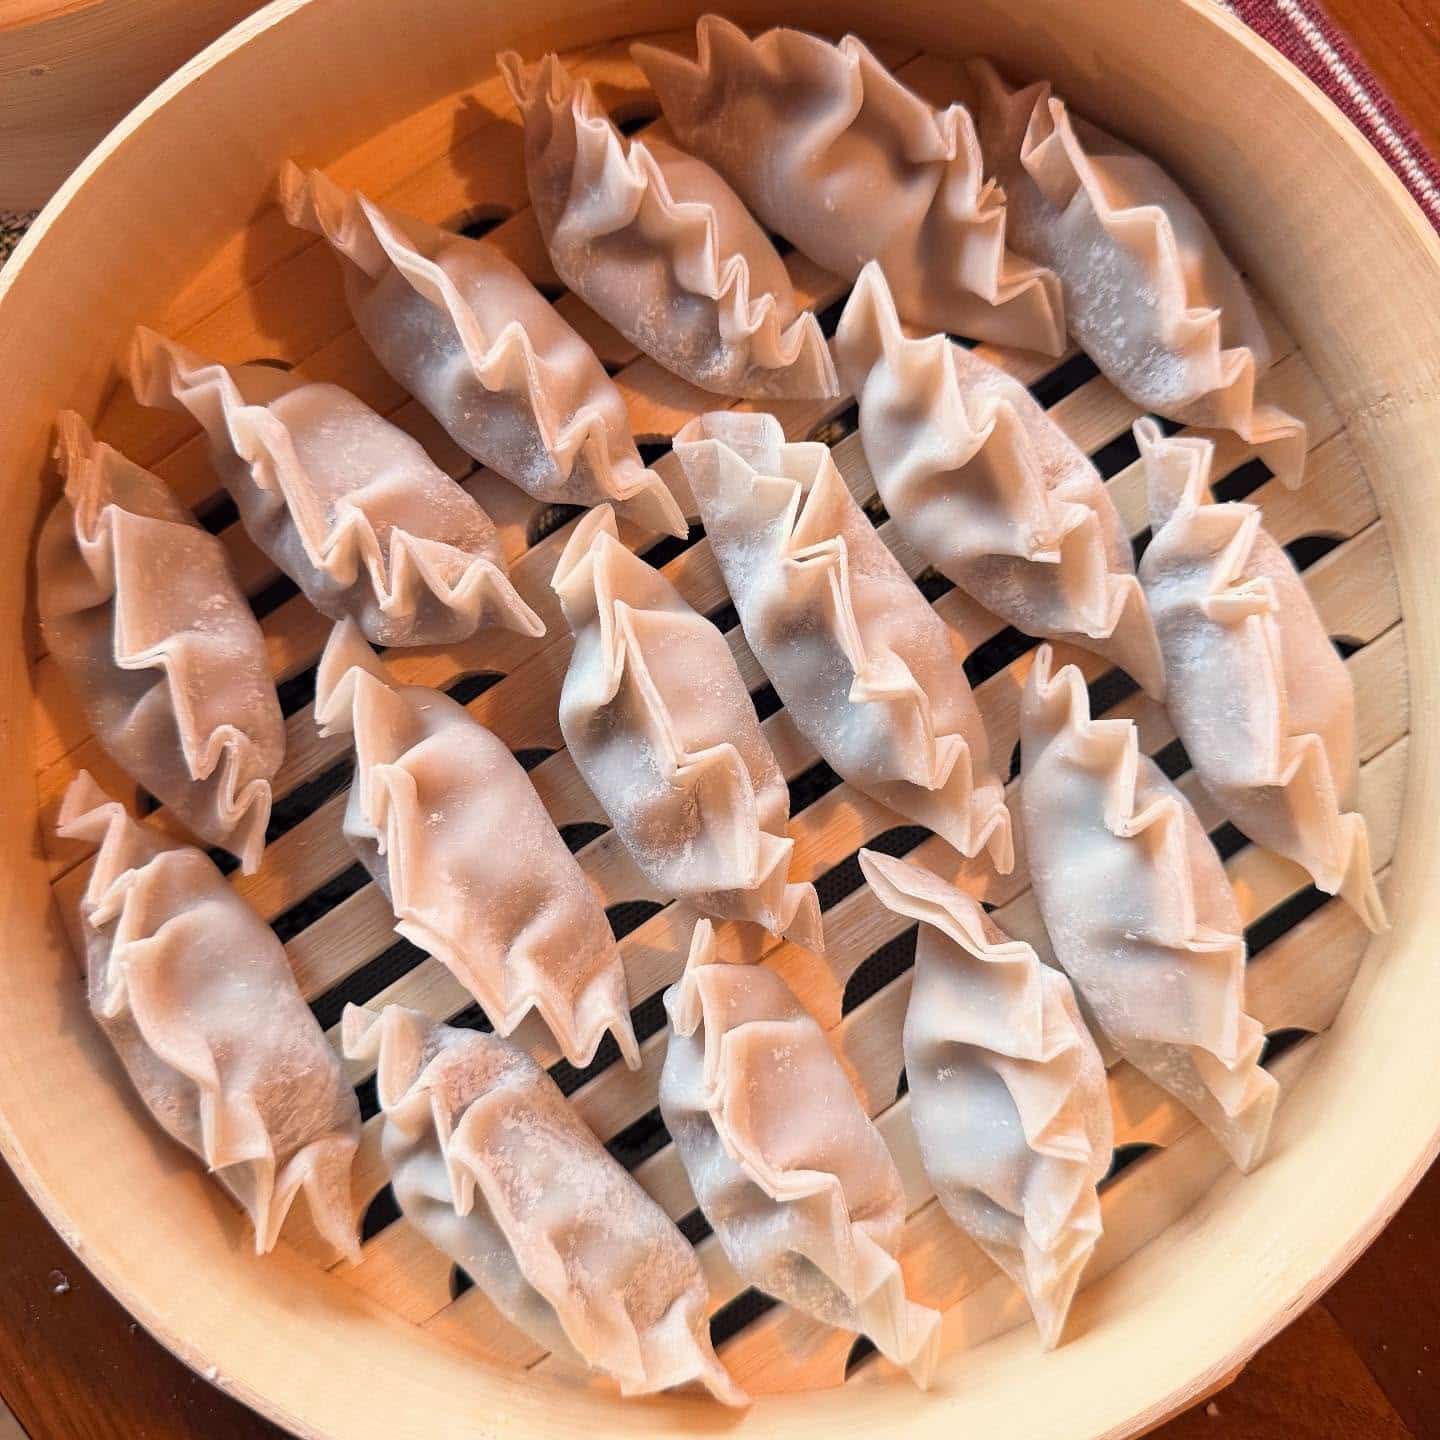
The start of the new year always brings a sense of renewal and fresh beginnings. Today, I find myself immersed in the gentle rhythm of preparing ginger chicken gyoza. As the aroma of ginger mingles with the savory scent of chicken, I am transported to a place of warmth and anticipation.

This culinary practice has grown to become a beloved tradition in our home. Each fold and pinch is a testament to the joy that handmade food brings to our lives, bridging the old with the new. As I work, I recall Winters past when snow would softly blanket the earth, wrapping everything in a magical silence. The scene is different today—no snow in sight, but the sense of nostalgia remains the same.

These gyoza, with their crisp exterior and juicy filling, are much more than a meal. They are a nod to new adventures and the memories that shape us. Sitting around the table with friends and family, we savor each bite, celebrating the New Year with laughter and shared stories. It’s a moment of connection, of hope, heralded by these delightful little parcels.

The symbolism of sharing these gyoza on New Year’s Day is profound—a wish for prosperity, good health, and happiness in the year ahead. The joy they bring

NYE – Ginger Chicken Gyoza Recipe

Ingredients:

  • 1 lb ground chicken
  • 2 stalks lemongrass, finely minced (tender white parts only)
  • 2 cloves garlic, minced
  • 1 tbsp fresh ginger, minced
  • 2 green onions, finely chopped
  • 1 cup Napa cabbage, finely shredded (optional)
  • 1 tbsp soy sauce
  • 1 tsp sesame oil
  • 1/2 tsp salt
  • 1/4 tsp white pepper (optional)
  • 1 package gyoza wrappers
  • 1 tbsp vegetable oil (for pan-frying)
  • 1/4 cup water (for steaming)

Instructions:

  1. Prepare the Filling:
    • In a large bowl, mix the ground chicken, minced lemongrass, garlic, minced fresh ginger, green onions, soy sauce, sesame oil, salt, and white pepper.
    • If using, fold in the Napa cabbage for added texture and flavor.
  2. Assemble the Gyoza:
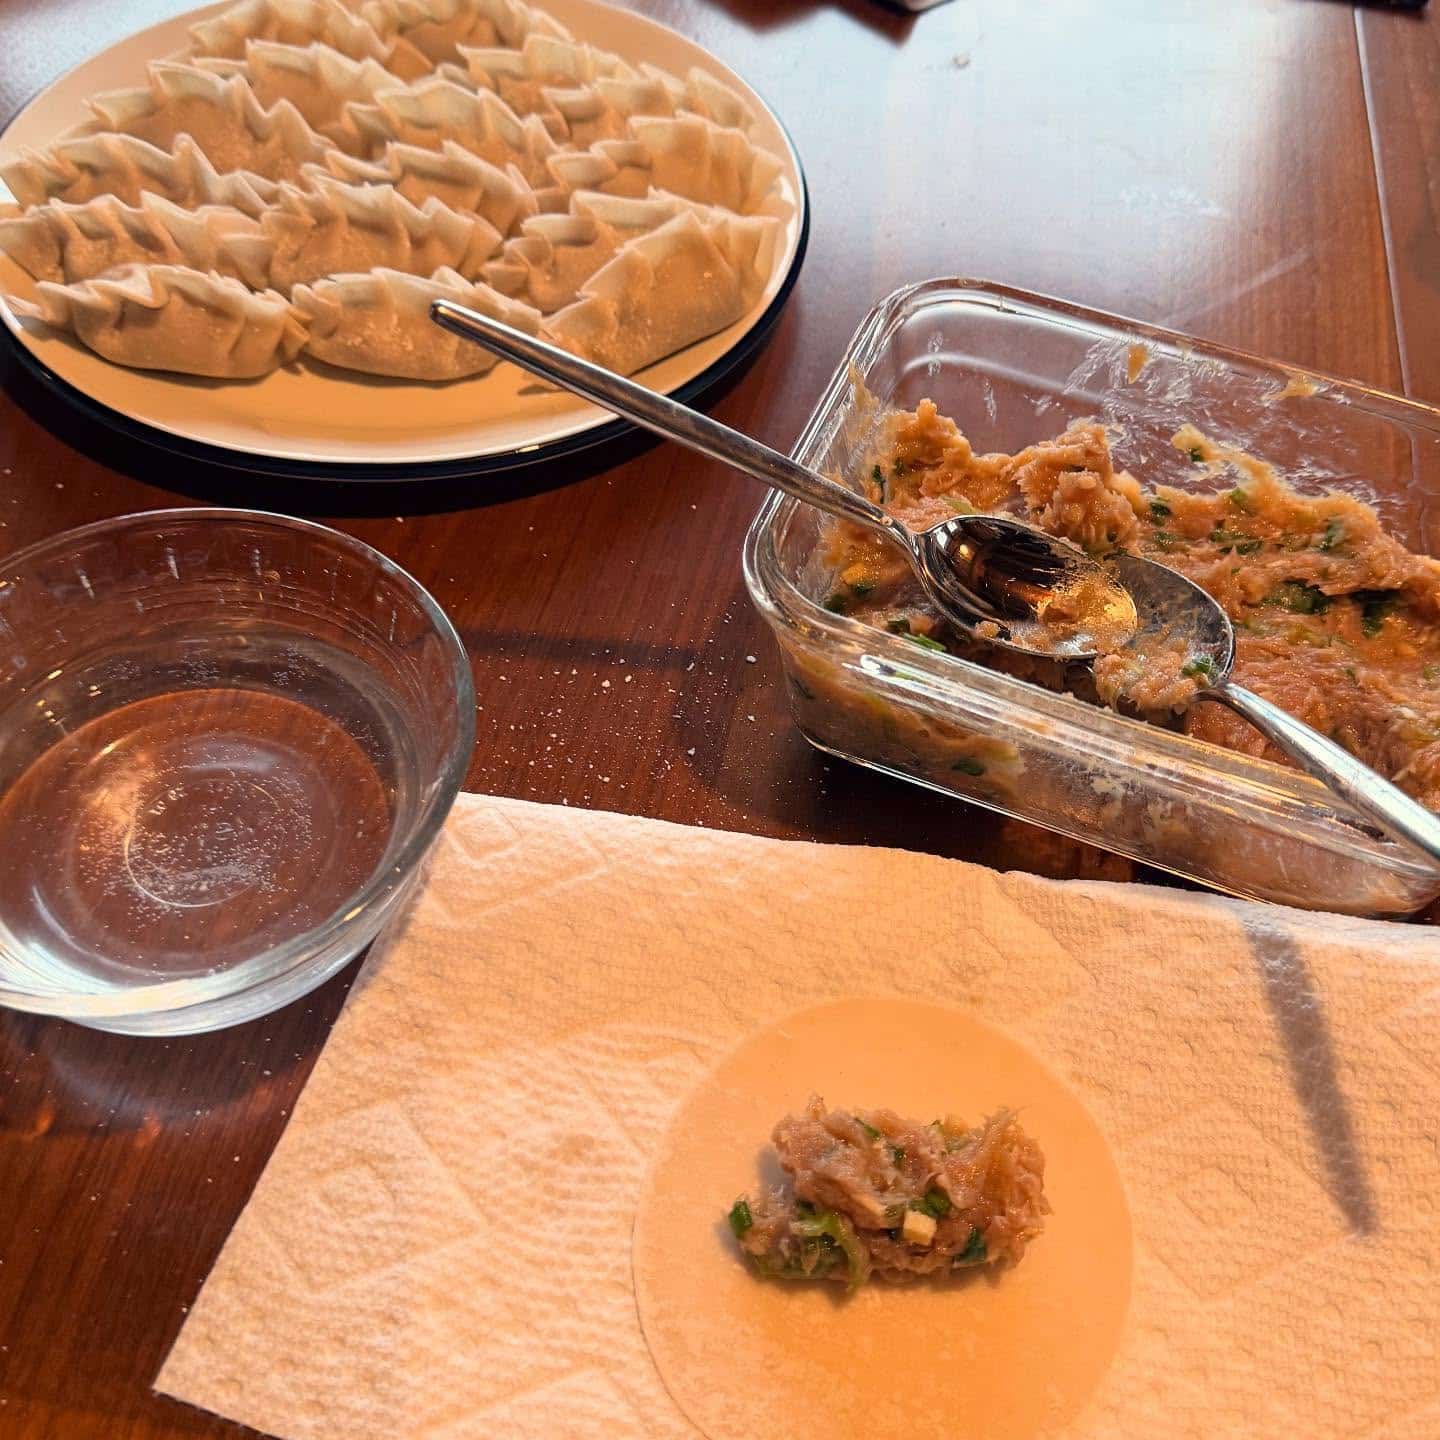
    • Place a gyoza wrapper in the palm of your hand.
    • Add about 1 teaspoon of filling to the center of the wrapper.
    • Wet the edges of the wrapper with water using your finger or a small brush.
    • Fold the wrapper in half over the filling and press the edges to seal, pleating one side if desired.
  3. Steam the Gyoza:
    • Arrange the gyoza in a steamer lined with parchment paper or cabbage leaves to prevent sticking.
    • Steam over boiling water for about 8–10 minutes until the chicken is fully cooked.
  4. Pan-Fry for Crispiness:
    • Heat 1 tablespoon of vegetable oil in a non-stick skillet over medium-high heat.
    • Arrange the steamed gyoza in the skillet, flat side down.
    • Cook for 2–3 minutes, until the bottoms are golden and crispy.

Snow Day Bond Marathon: Shake Up a Vesper Martini

Feeling like a sophisticated spy (in cozy slippers) this snow day? Channel your inner James Bond with a classic marathon and the signature Vesper Martini, his drink of choice. We’ve curated the perfect 007 film lineup to keep you on the edge of your seat, interspersed with breaks to savor this iconic cocktail.

Your Mission (Should You Choose to Accept It):

  1. Dr. No (1962): Start with the origin story! Witness Sean Connery’s iconic debut as Bond and be transported to the sunny Caribbean for a thrilling introduction to the world of espionage.
  2. Man with the Golden Gun (1974): Roger Moore takes the helm in this globe-trotting adventure featuring Christopher Lee’s menacing Scaramanga. Prepare for laser guns, exotic locales, and a killer theme song.
  3. Golden Eye (1995): Pierce Brosnan brings a modern edge to Bond in this high-tech thrill ride. Famke Janssen shines as the unforgettable Xenia Onatopp, and the iconic opening sequence remains a masterpiece.
  4. Skyfall (2012): Daniel Craig delivers a powerful performance as a Bond grappling with his past in this visually stunning film. Javier Bardem steals the show as the chilling Silva, and Adele’s theme song is an instant classic

(watch on Amazon)

Fueling Your Mission: The Vesper Martini

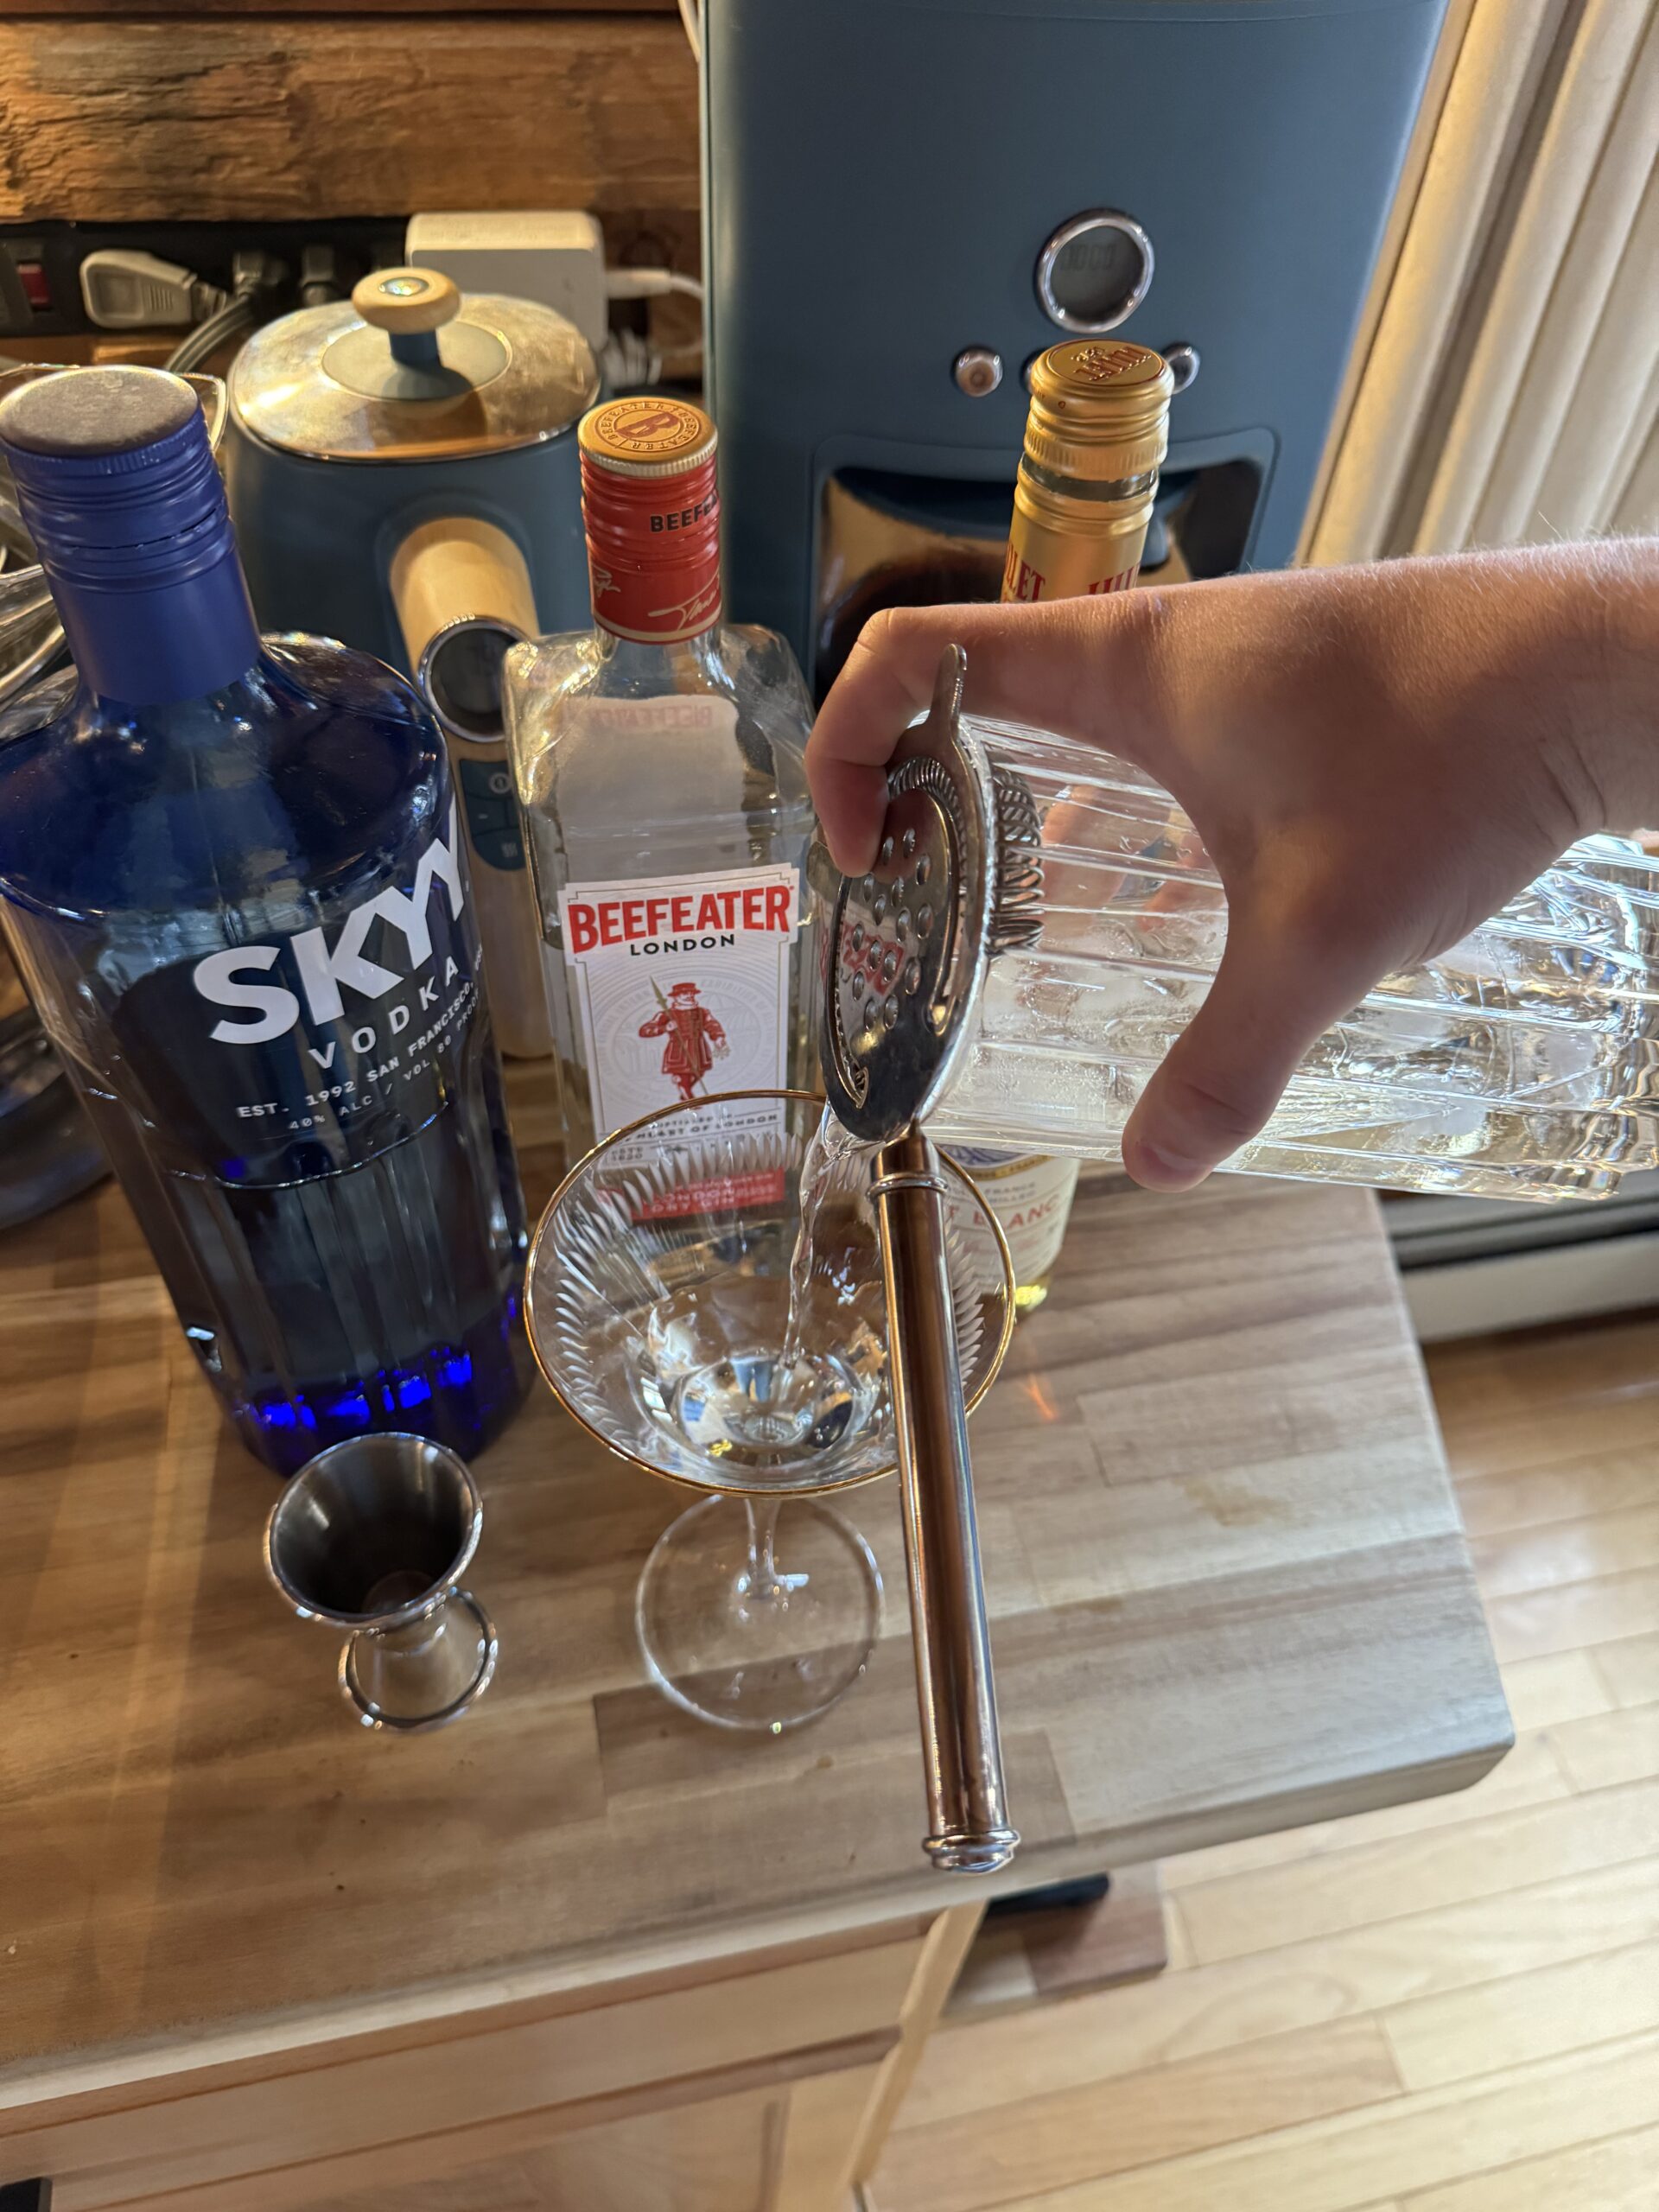
Invented by Ian Fleming himself, the Vesper is a potent mix of gin, vodka, and Lillet Blanc, shaken to icy perfection. Grab your cocktail shaker and follow these steps:

Ingredients:

  • 3 oz. gin (Beefeater is my preference)
  • 1 oz. vodka (Skyy is my preference)
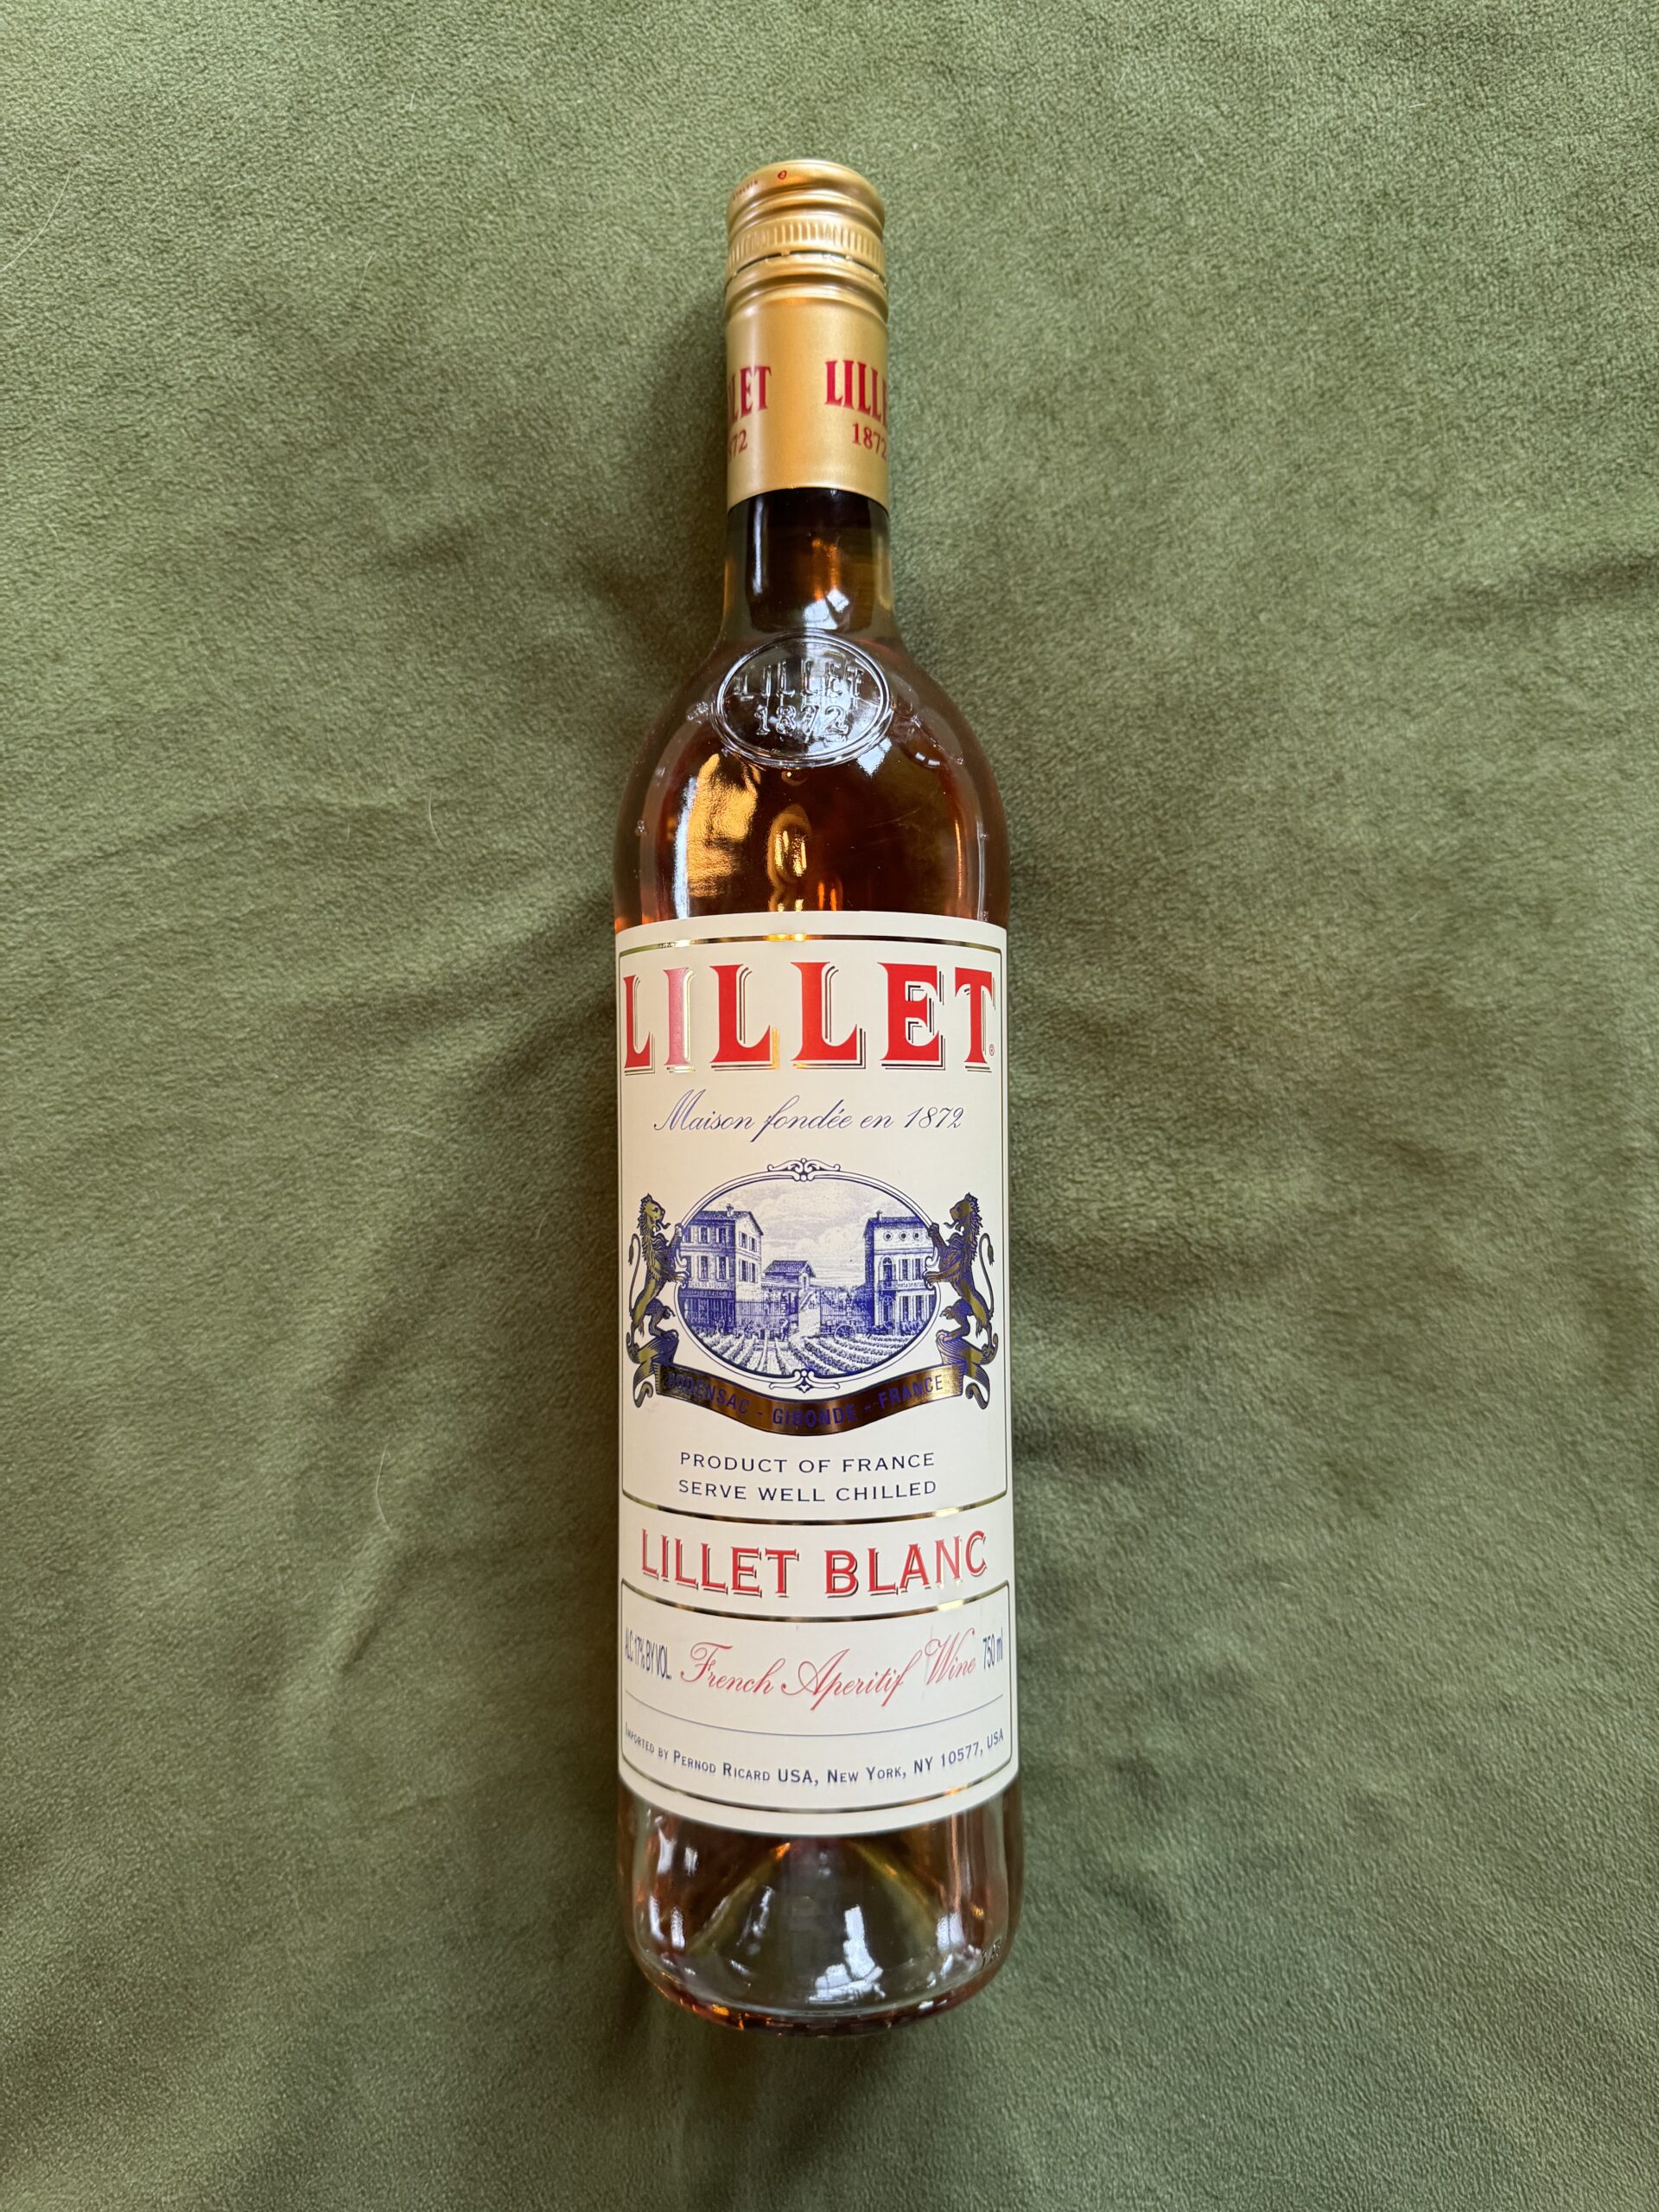
  • ½ oz. Lillet Blanc
  • Lemon peel, for garnish

Instructions:

  1. Run water over martini glass and place into freezer.
  2. Combine Liquors into cocktail shaker with a generous amount of ice & shake. (you can also stir)
  3. Remove martini glass from freezer and pour in the liquid.
  4. Garnish with a lemon twist
  5. Enjoy Mr. Bond

Bonus Round:

Pair your Vesper with themed snacks like caviar on blinis, smoked salmon rolls, or roasted nuts for a touch of elegance. Don’t forget the martini olives, shaken not stirred (of course!).

So, settle in with your blanket, Bond playlist, and Vesper Martini in hand. Let the snow fall and prepare to be shaken (not stirred) by these classic 007 adventures. Just remember, with great cocktails comes great responsibility – drink responsibly!

A good night for a Hot Toddy

Capping off a chilly week calls for something warm and relaxing. The spirit of the evening: a Hot Toddy—a classic hot cocktail built around whiskey, hot water, lemon, and honey, with optional spices for extra comfort. 

This is my current version using Knob Creek, with cinnamon, cloves, and star anise. The small upgrade that makes a big difference: I let a lemon round sit in the mug with honey and whiskey while the water heats, so the base starts melding before the hot water hits.


Hot Toddy Recipe (Knob Creek + Lemon + Honey + Winter Spices)

Time: ~5 min.

Yield: 1 Drink

Ingredients (1 serving)

  • 3 oz (89 ml) whiskey/bourbon (Knob Creek here)
  • 1–2 tsp honey (to taste) 
  • 1 lemon round (plus an optional extra slice for garnish)
  • 4–6 oz hot water, just off boiling (adjust to taste) 
  • ½ tsp cinnamon or 1 cinnamon stick
  • 2–4 whole cloves (start low—clove can take over) 
  • 1 star anise pod (optional but excellent) 
  • Optional: a small splash of lemon juice if you want it brighter

Directions

  1. Start the mug base (while the water heats): Put honey in the bottom of a heat-safe mug. Add whiskey, then place one lemon round on the bottom of the cup. Let it sit while you heat the water (this gently “pre-infuses” the base).
  2. Heat water in a kettle/tea pot until steaming hot (just off boiling). 
  3. Add cinnamon, cloves, and star anise to the mug.
  4. Pour in the hot water (start with 4 oz / 120 ml) and stir well to dissolve the honey.
  5. Steep 2–5 minutes, then sip.
    • If spice gets too aggressive (usually cloves), add a little more hot water or strain into a fresh mug.

Notes that Actually Matter

  • Clove warning: 2 cloves is subtle; 4+ gets intense fast. 
  • Want it brighter? Add a small squeeze/splash of lemon juice right at the end (lemon can flatten if it “cooks” too long).
  • Want it sweeter? Add another teaspoon of honey—toddy balance is personal.

What I used

| Read Insta-comments -> http://bt.zamartz.com/1mLUel8

Candied Lemon Peals

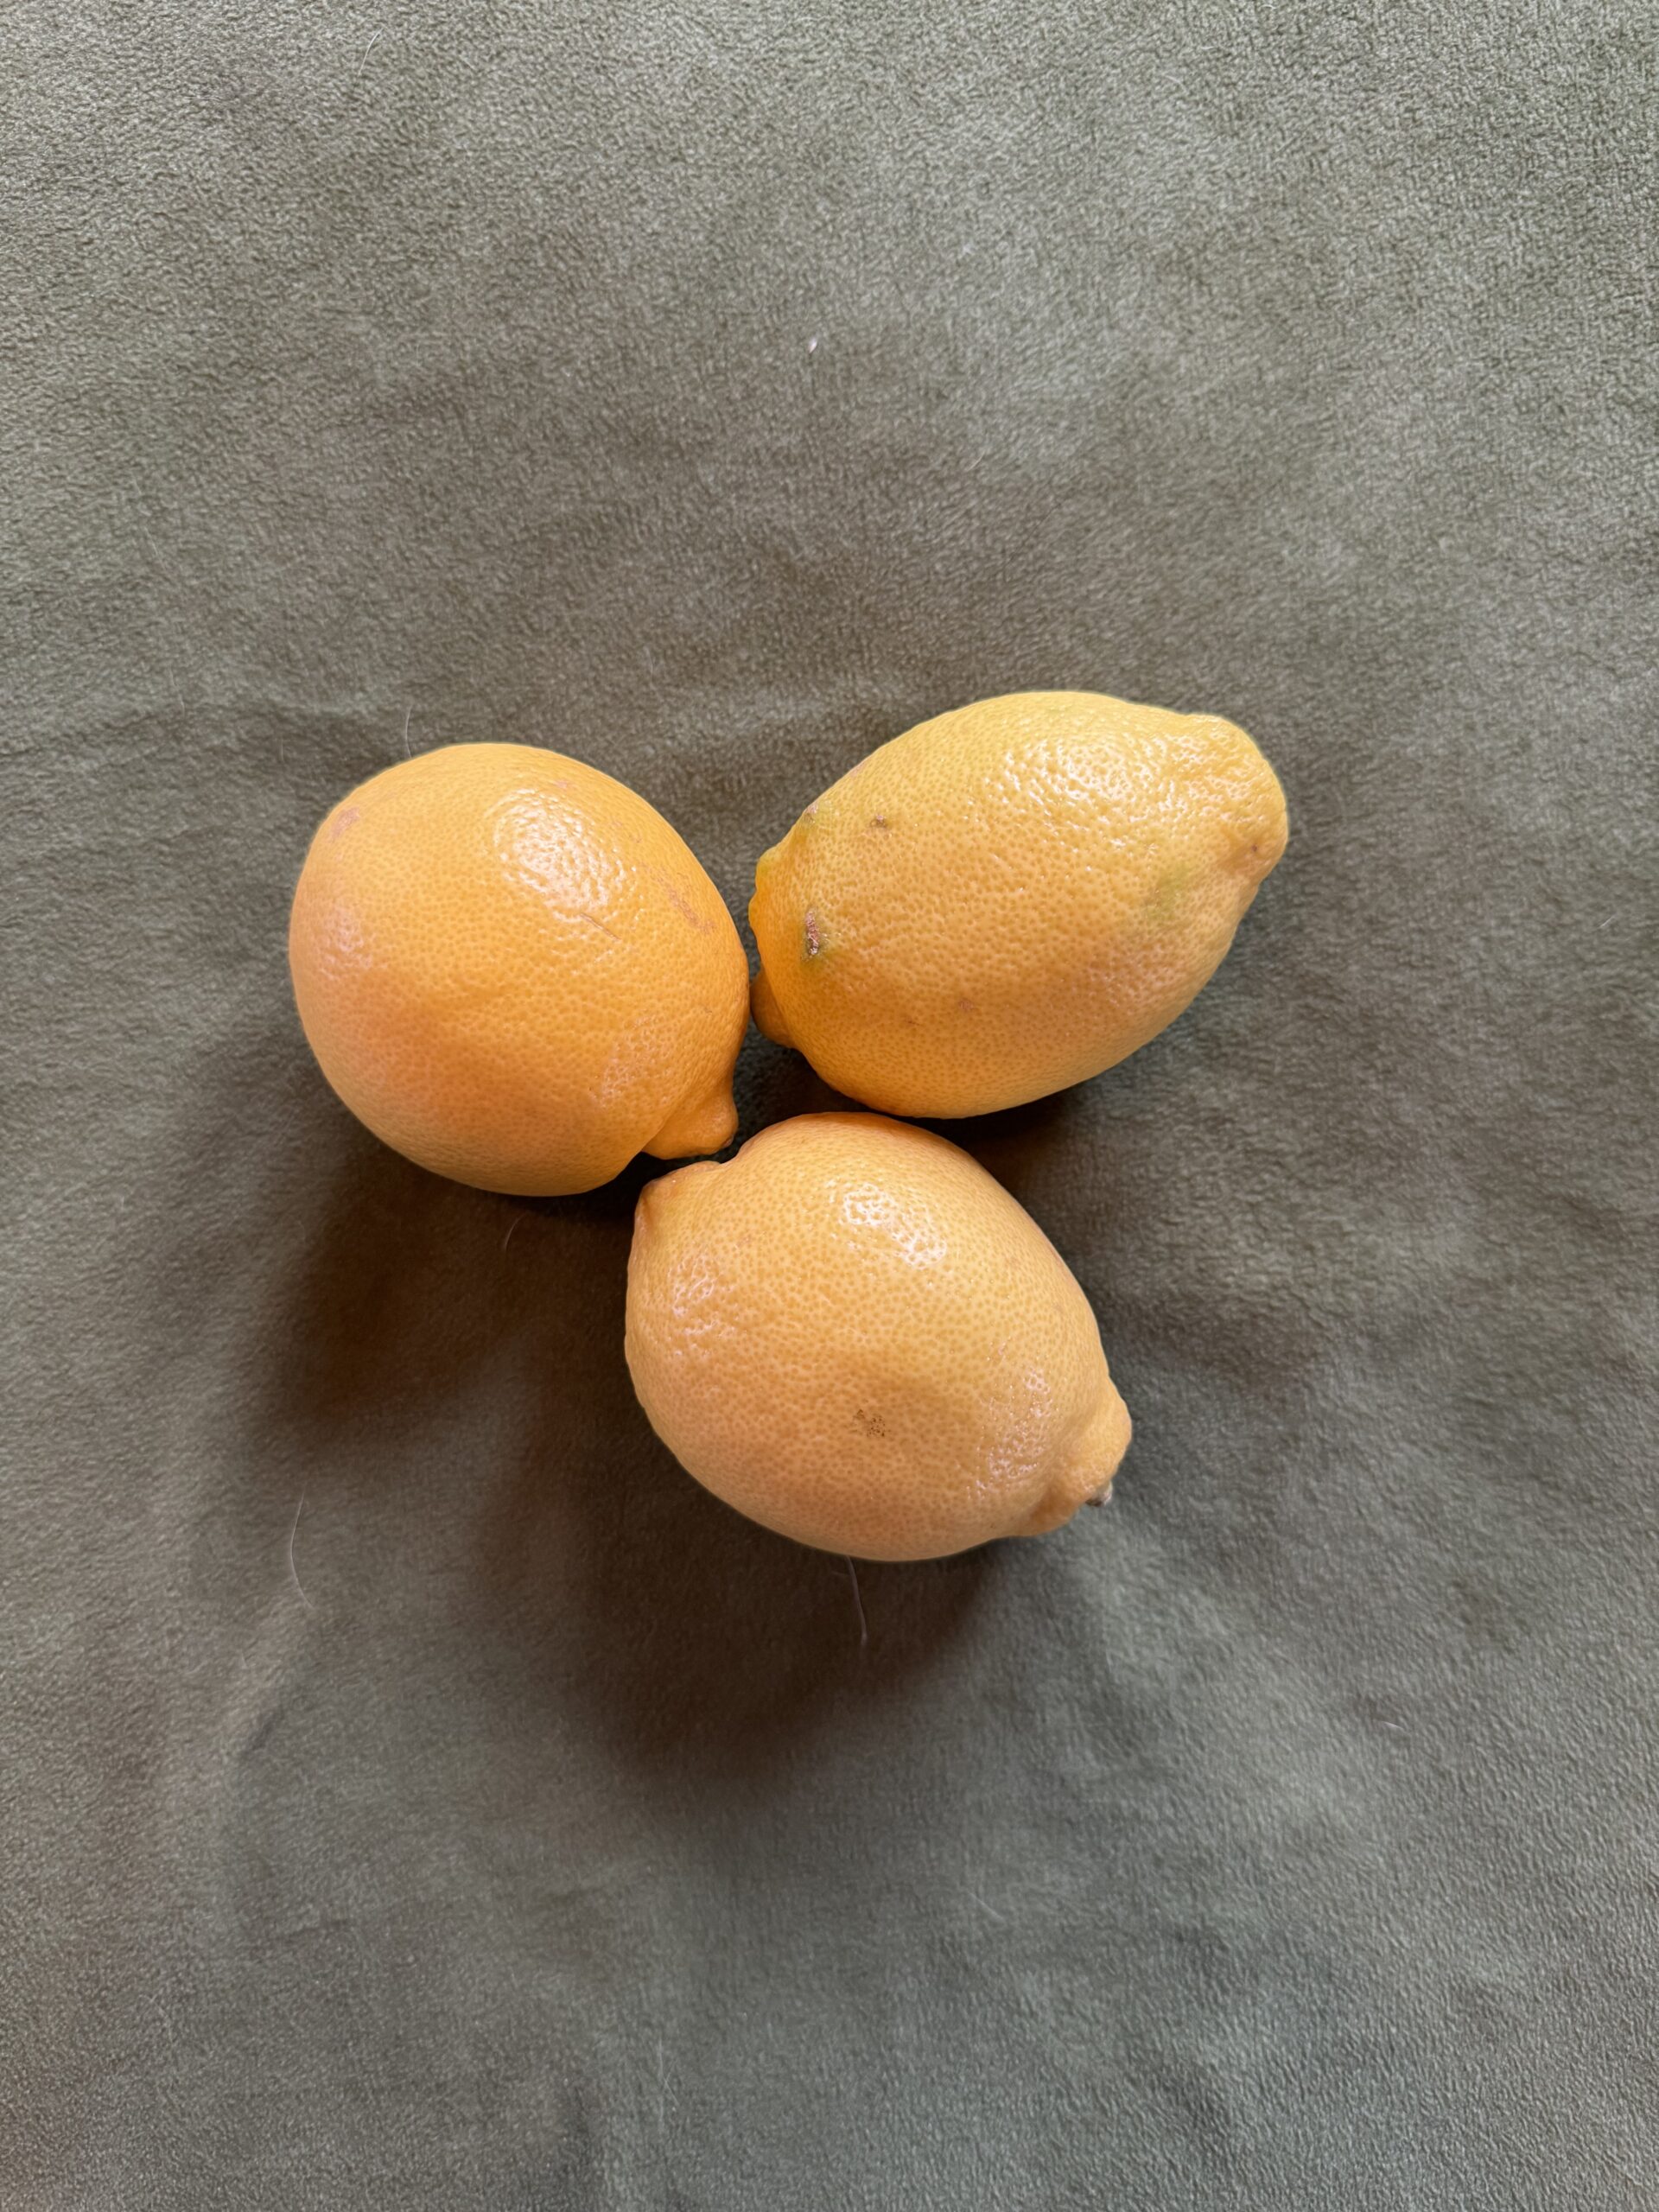
I made a standard batch of iced tea today with fresh-squeezed lemon. But after juicing, I had a pile of lemon peels left on the cutting board—and throwing them out felt like a waste.

So instead, I turned the leftover peels into candied lemon peel: bright, chewy citrus strips coated in sugar. They’re perfect for cocktails, baking, snacking, or topping desserts—and you also get a bonus product: lemon syrup (great for mixed drinks).

Why You’ll Love This

  • Uses up leftover lemons (low waste, high reward)
  • Makes two things: candied peel + citrus syrup
  • Easy ingredients you already have
  • The bitterness gets tamed with a quick double-blanch

Ingredients:

  • 1 Lemon (peel from it)
  • ¾ cup sugar (plus extra for coating)
  • 1 cup water

Directions

1) Prep the lemon

  1. Cut 1 lemon in half.
  2. Cut each half into 8 wedges (16 total).
  3. Remove seeds and any remaining pulp.
  4. Lightly scrape the inside of the peel with a teaspoon to remove excess pith (this helps reduce bitterness).
  5. Slice each wedge into thin slivers, no wider than ¼ inch.

2) Blanch the peels (twice)

  1. Add peel slivers to a small saucepan with water (enough to cover).
  2. Bring to a boil and boil for 60 seconds.
  3. Drain.
  4. Repeat once more (fresh water, same 60 seconds), then drain again.

3) Candy the peel + make syrup

  1. Add ¾ cup sugar, 1 cup water, and the blanched peels to the saucepan.
  2. Bring to a rolling boil, then reduce heat to a gentle simmer.
  3. Simmer for 1 hour, stirring every 15 minutes. (or until glassy and syrupy)

4) Dry + coat in sugar

  1. Strain the syrup into a jar (save it—this is gold for cocktails).
  2. Lay the peel slivers on wax paper for until cool to touch, no more than 15 minutes.
  3. Toss peels in loose granulated sugar until evenly coated.
  4. Remove from sugar and let cool/dry further.

| Read Insta-comments -> http://ift.tt/1lzFvWz

Frequently Asked Questions

Tons. Here are easy go-to uses:

  • Chop and fold into cookies, scones, or muffins
  • Use as a cocktail garnish (old fashioned, gin fizz, whiskey sour)
  • Sprinkle over vanilla ice cream, cheesecake, or yogurt
  • Add to trail mix (dangerously snackable)

Don’t waste it—this stuff is perfect for:

  • Sweetening lemon iced tea
  • Mixing into cocktails with bourbon, gin, or vodka
  • Making quick lemonade (add water + ice)

Store it in an airtight container:

  • Room temp: good for several days
  • Refrigerator: lasts longer (best if your kitchen is warm/humid)

Pour into a sealed jar and refrigerate:

  • Fridge: use within about 2 weeks
  • If it smells off, toss it.


Blanch the peels one more time (a third blanch) before simmering in syrup.


Add a small splash of water and warm it gently, stirring until it loosens up.

Exit mobile version